Lens
For wedding and lifestyle photography, I used prime lenses (ie. fixed focal length) so they don’t zoom in or out. I prefer prime lenses over zoom lenses for that type of work because of the range of work I shoot. The smaller size and weight of these lenses plus their wider apertures make them better suited for my style of photography.
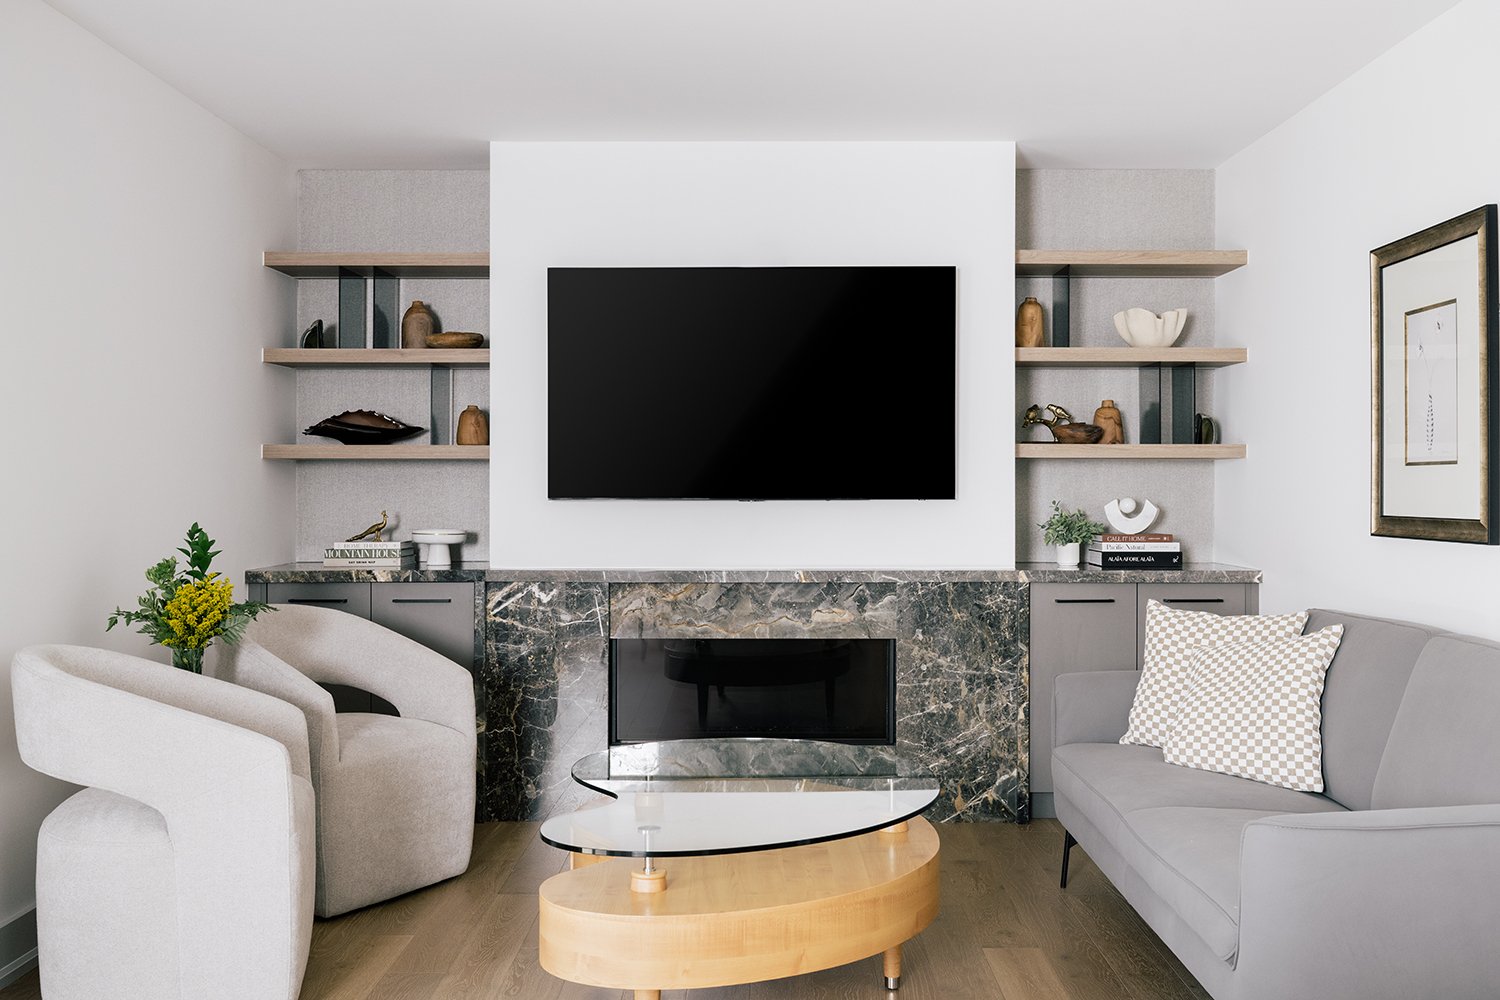
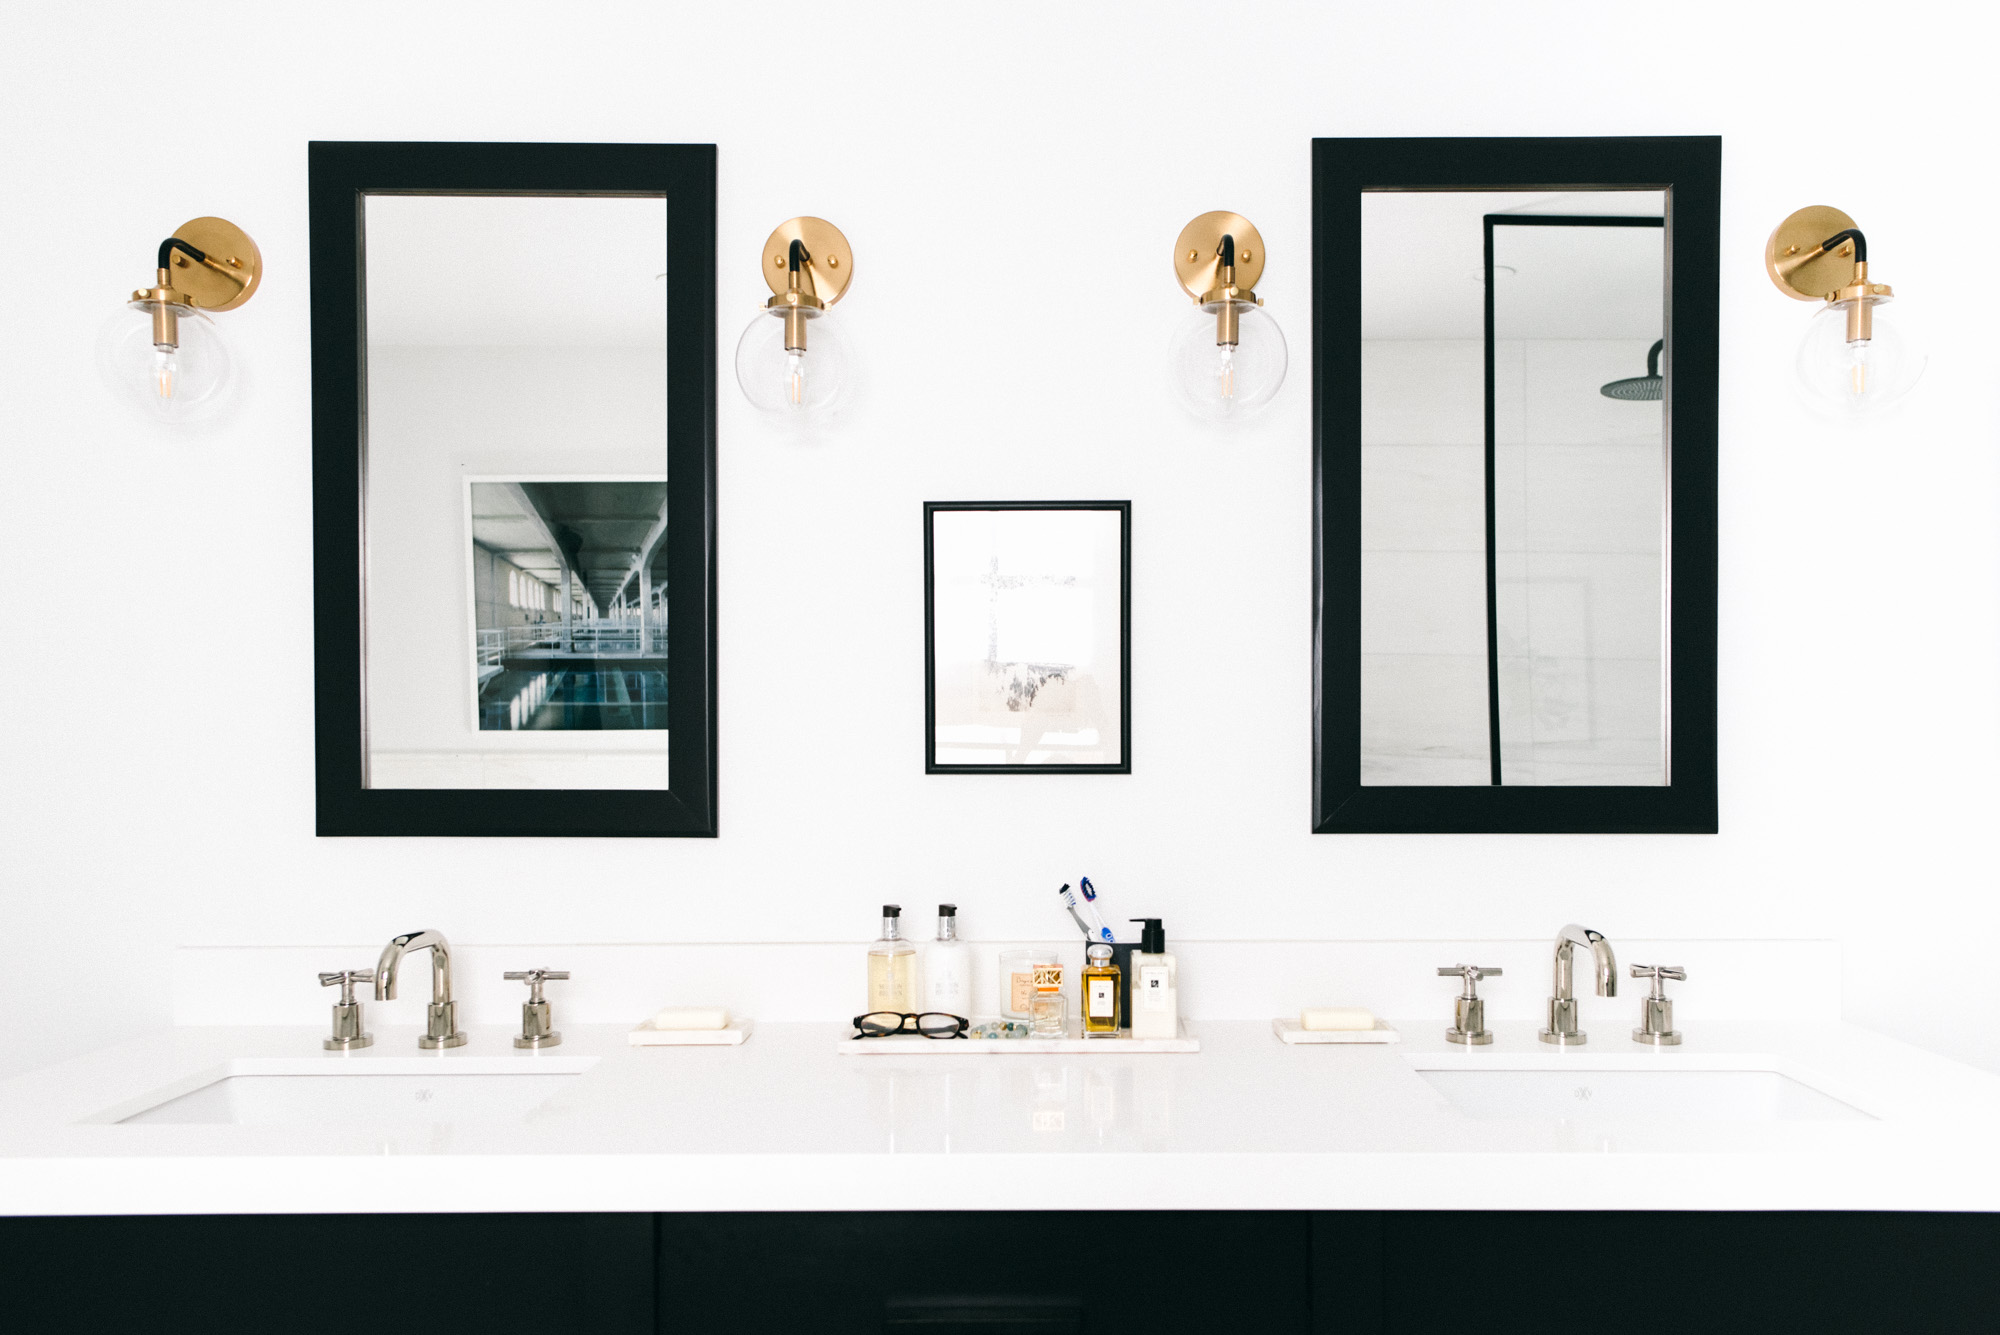
However, for interior photography, I’ve switched to a 24-70mm lens as my main lens so I don’t have to switch focal lengths often.
Here are some of the common lenses used in interior photography:
Wide Lens
Use a wide lens with a focal length of 24mm to capture the entire room. For example, a 24mm or 24-70mm lens (used at 24mm).
You could use an even wider lens such as the 16-35mm in some situations, but I’d avoid an ultra-wide lens like a 12-24mm. If you must use it, use it sparingly and be aware of distortion towards the corners of the photo. It’ll stretch the room and create an unwanted warping effect. In that case, you may need to adjust the perspective or crop the photo in post-processing to remove the stretched part of the image.
Medium Lens
A 35mm lens is one of my go-to lenses because it captures the scene with a similar focal length to the human eye. This gives the viewer an accurate idea of what they would see if they were in the room. The 35mm doesn’t create a lot of distortion either, which is a big advantage over ultra-wide lenses.
For mid-range details, the 50mm lens is great for the job. It’s not too wide and not too tight so you can focus on an area while still capturing the environment for context.
Long Lens
For detail shots, an 85mm or 24-70mm (used at 70mm) is useful to create vignettes within a room. They allow you to highlight specific objects or features of the room.
Tilt-Shift Lens
If you’re aiming to photograph large interiors or exteriors, you might consider investing in a specialty tilt-shift lens with a focal length like 17mm, 19mm, or 24mm. A tilt-shift lens has the ability to both tilt and shift which allows the camera body to remain level while the lens changes the focusing plane.
For example, if you’re photographing a tall building, the camera does not need to point up or down to capture the entire building because the lens will correct that angle.
Tripod
A sturdy tripod is highly recommended, especially in low-light situations where you may need to use a slower shutter (eg. 1/80s, 1/30s or slower, etc.) to keep the camera in the same position when exposure bracketing. It will also save your back from having to crouch or bend down constantly to get a shot.
Tether Cable
Shooting tethered is beneficial for you and your client because the screen on the back of your camera is small. These small details can go unnoticed at first glance. With the camera tethered to a laptop, you’re able to zoom into different areas of the image to see if you need to make any changes before moving on.
Popular tether cable brands include TetherTools and Area51, but you don’t have to buy from a specific brand. Depending on your camera and computer, a long, fast, and reliable USB-C to USB-C cable is all you need.