Updated May 7, 2024
So you’ve styled your room beautifully and are eager to have professional photos taken. I’ve had the pleasure of capturing amazing homes, but before I even step foot into the space, I recommend these six ways to prepare to ensure the best representation of the room.
How to photograph interiors

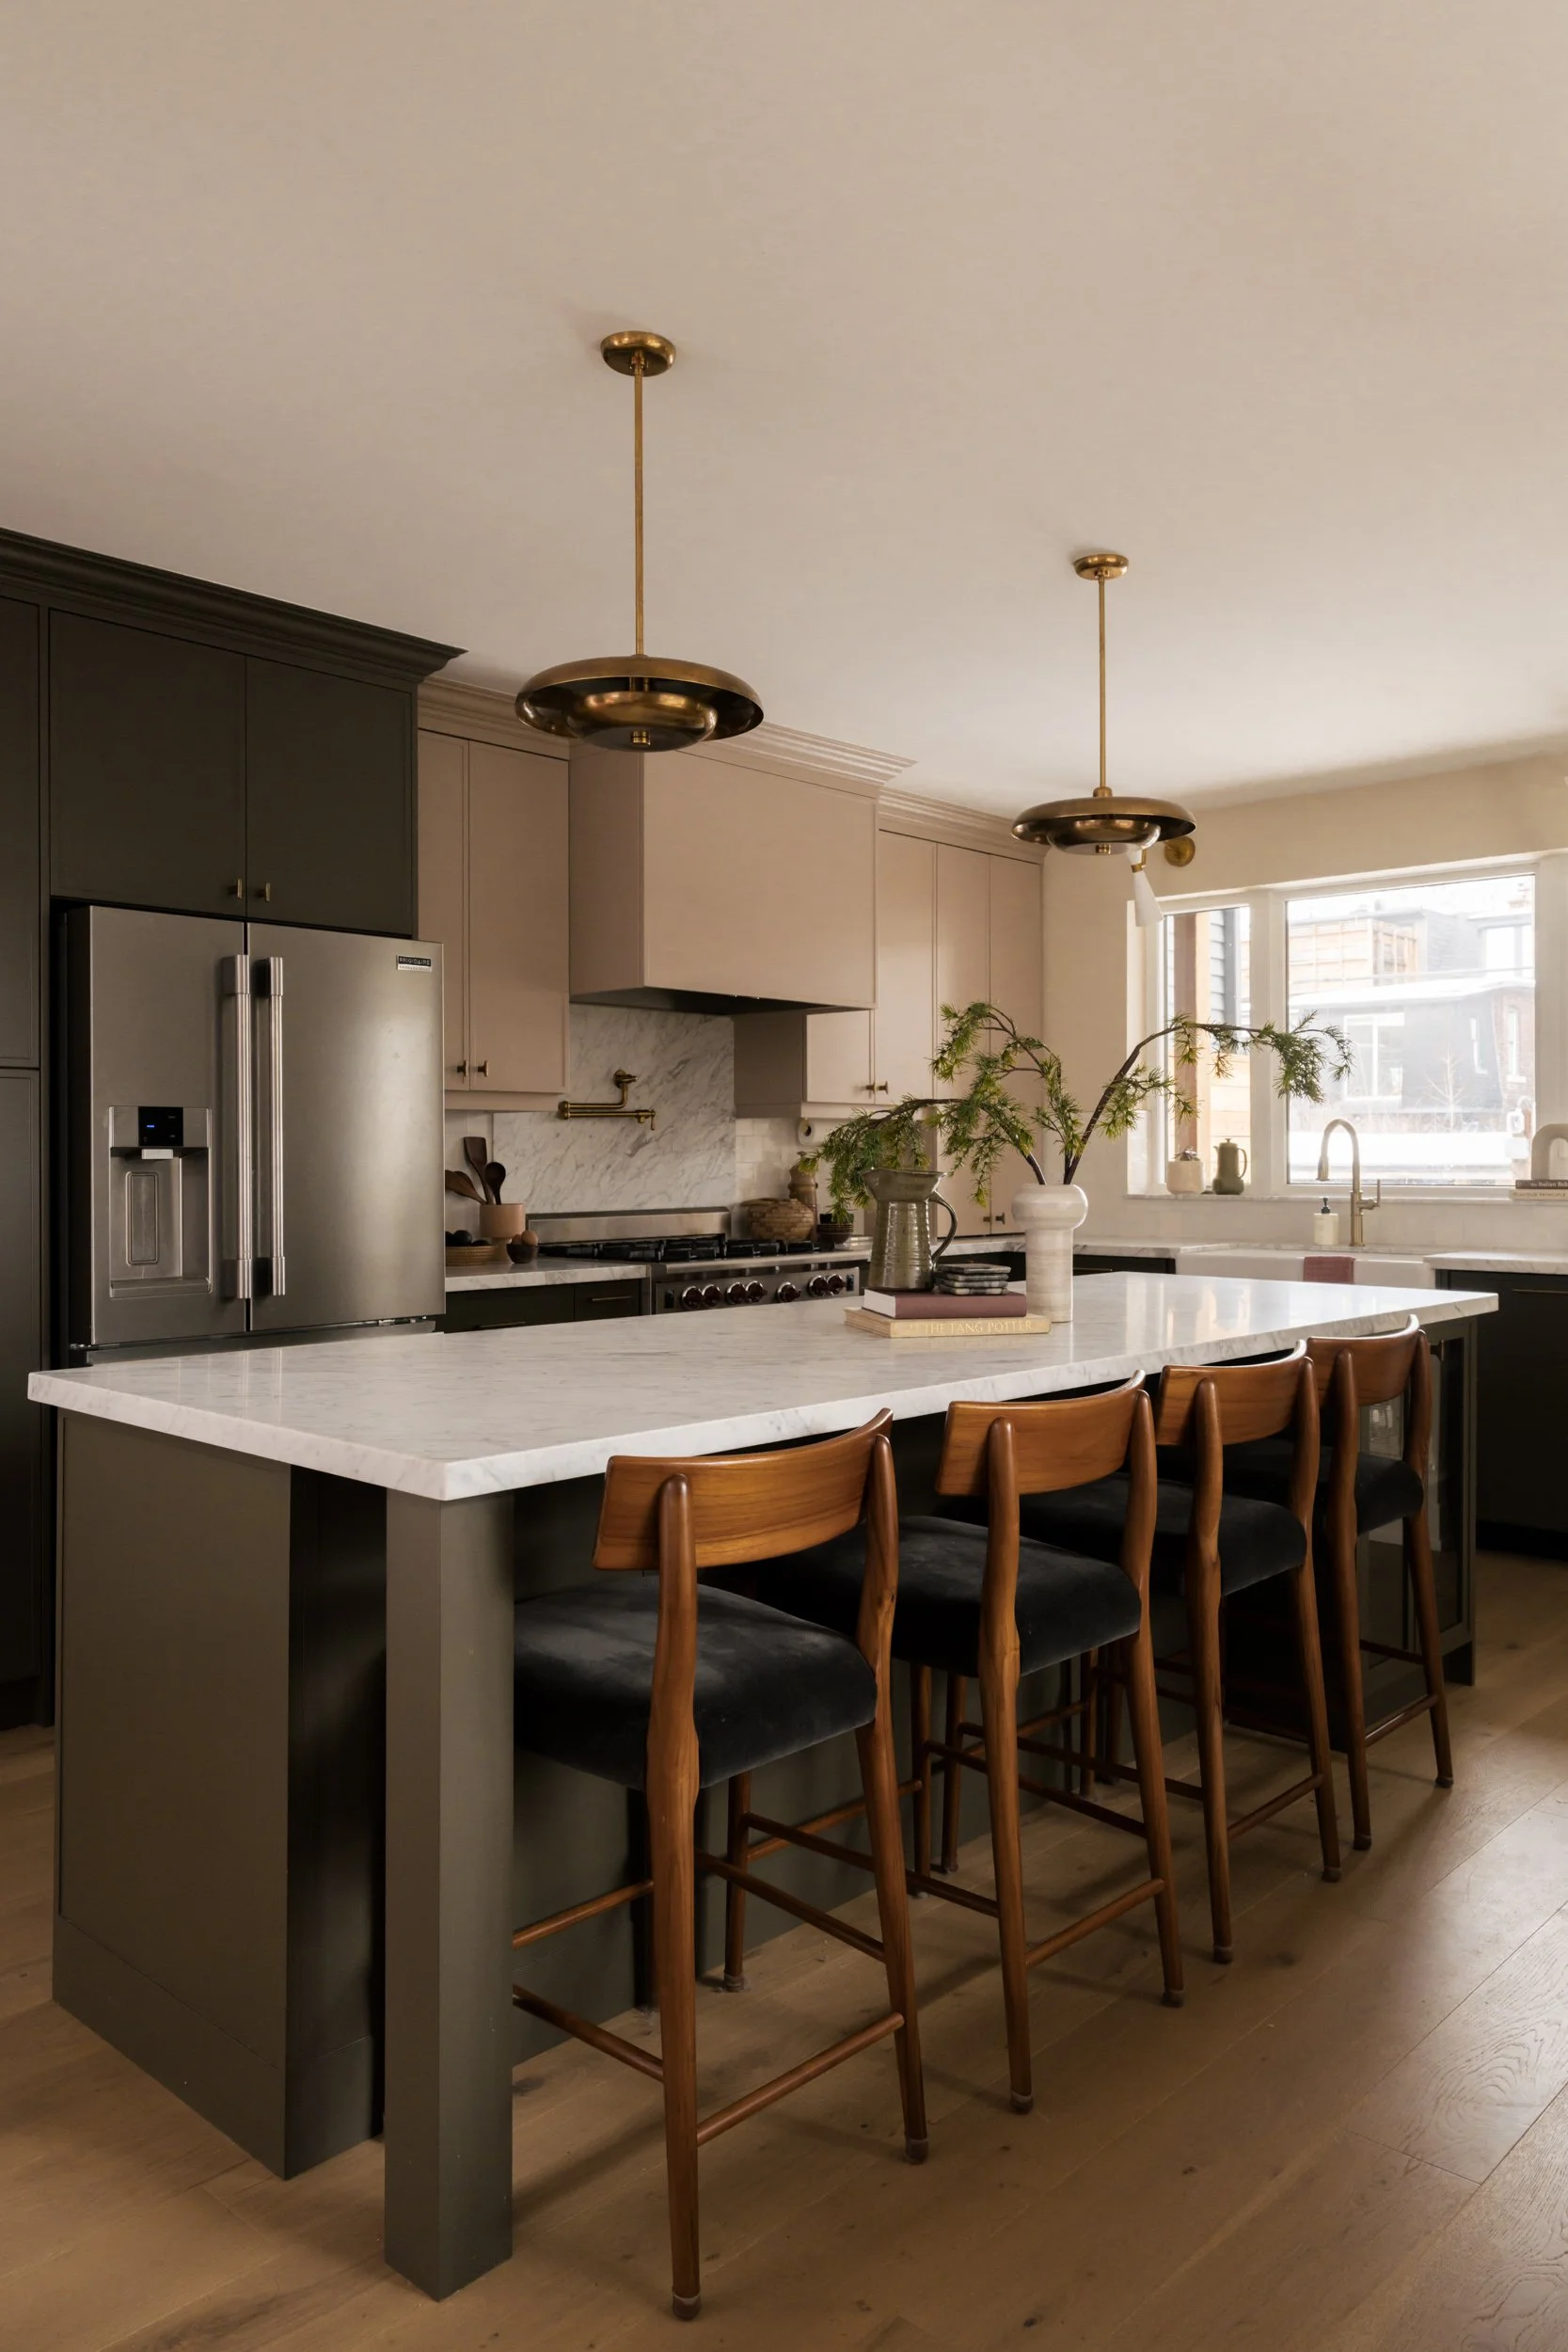
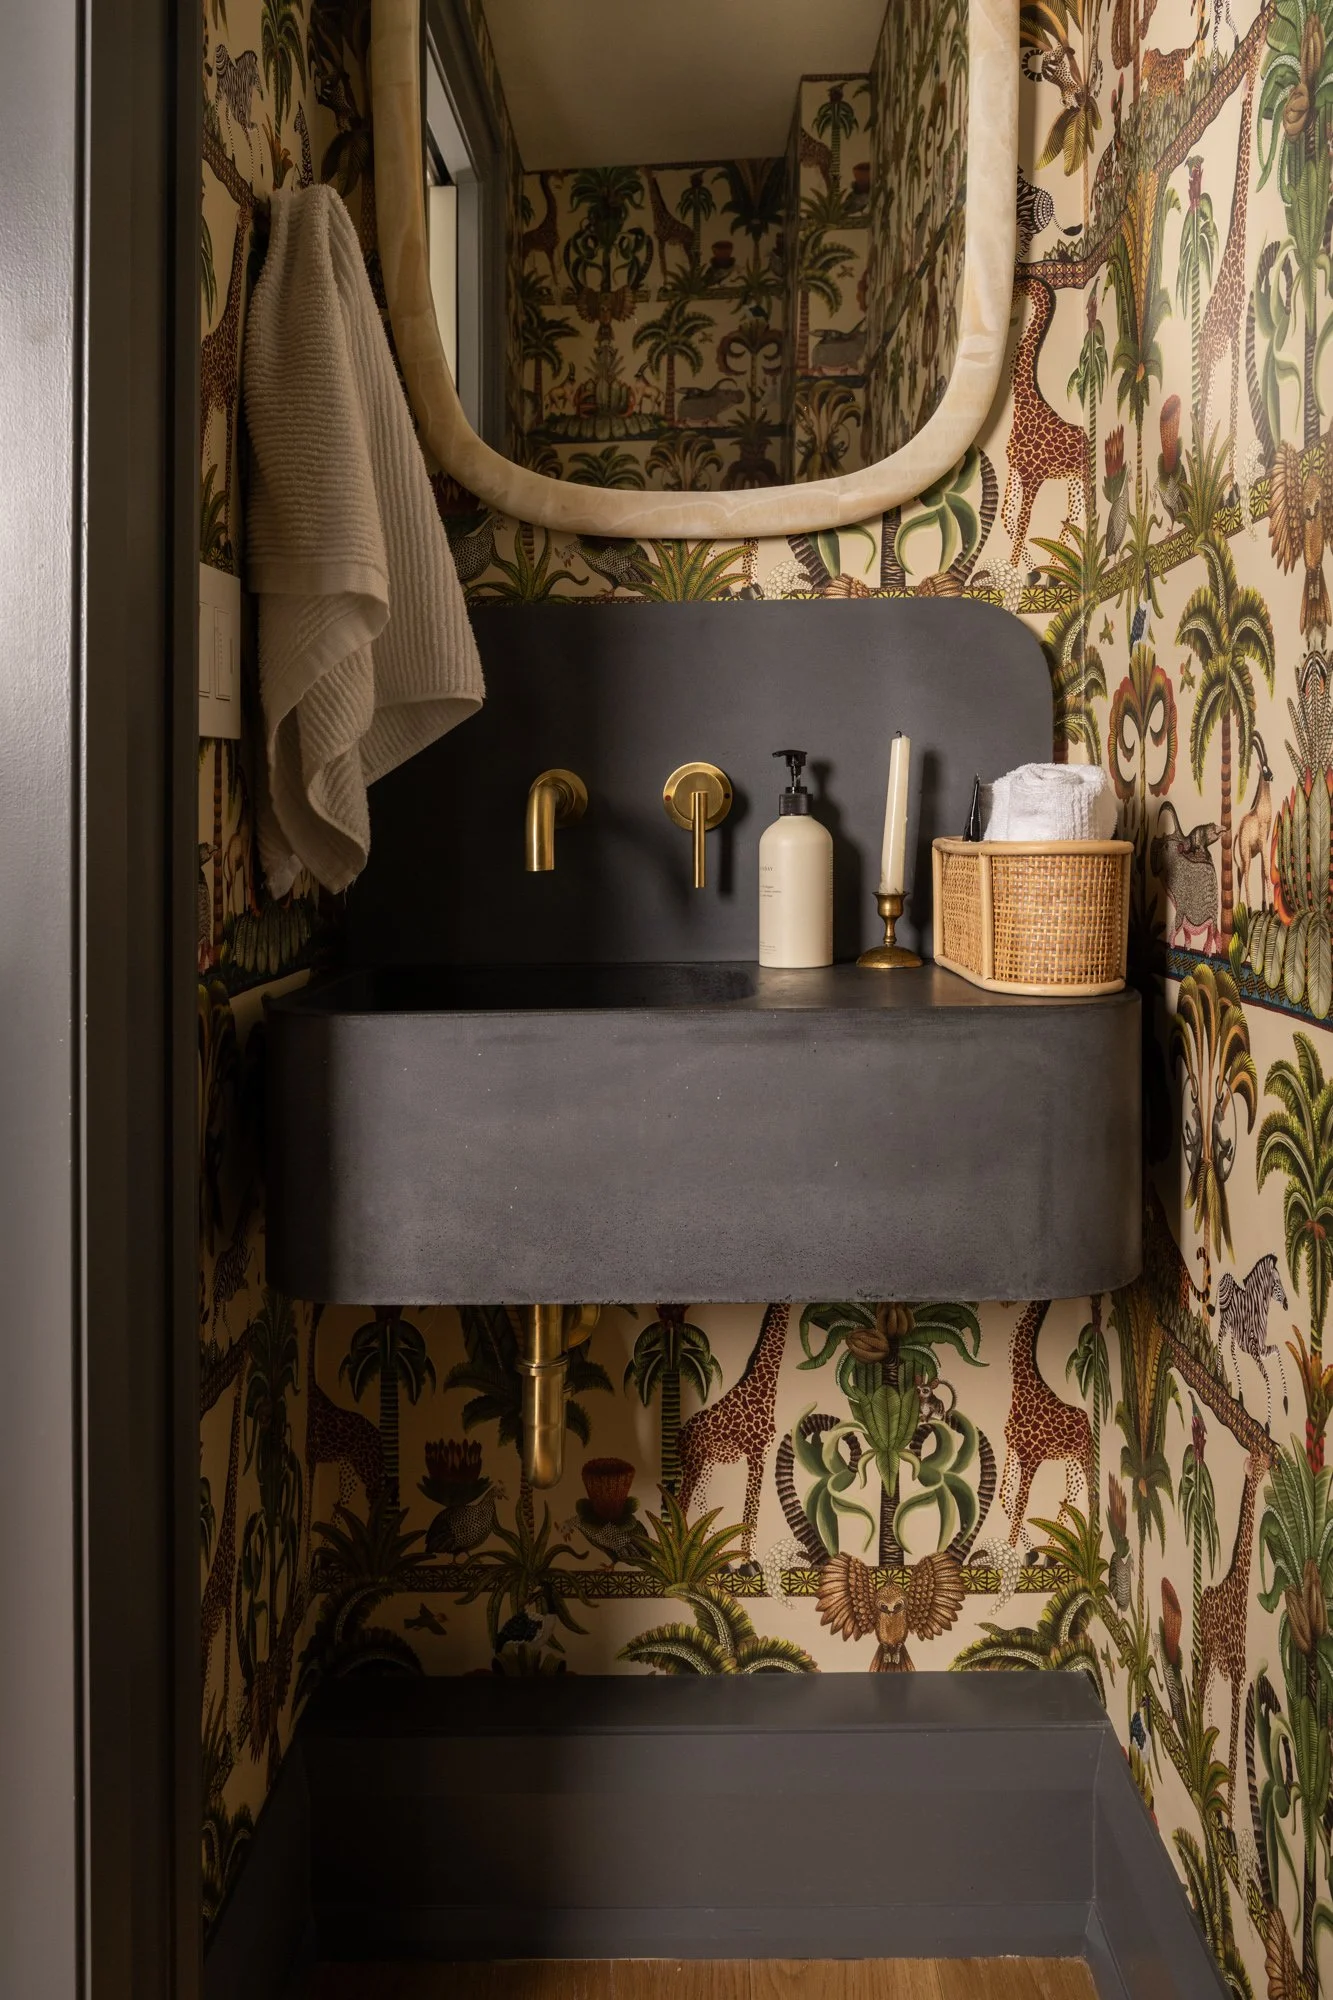
Photographed for Oak and Isaac
1. Declutter
It sounds obvious, but it needs to be said. While we want to show off the room’s personality, we don’t want to take the focus away from it as a whole. We want the viewer to feel invited and welcomed without feeling overwhelmed visually.
Remove items that are a distraction such as personal photos or used towels, toiletries, etc. that aren’t necessary to convey the feel of the space.
2. Clean surfaces
Mirrors and windows: Wipe with a microfiber cloth to remove all streaks and dust.
Floors: Be sure to vacuum, Swiffer and mop the floor, especially in the corners and under furniture. Even a thin layer of dust and hair can stick out like a sore thumb.
Tables, coffee tables and shelves: Dust the surface as well as items on it.
Hardware and appliances: Remove water stains and finger prints from faucets, refrigerator, etc.
Screens: Wipe fingerprints and dust off the TV and computer/laptop. Smudges will show up on those dark glossy screens.

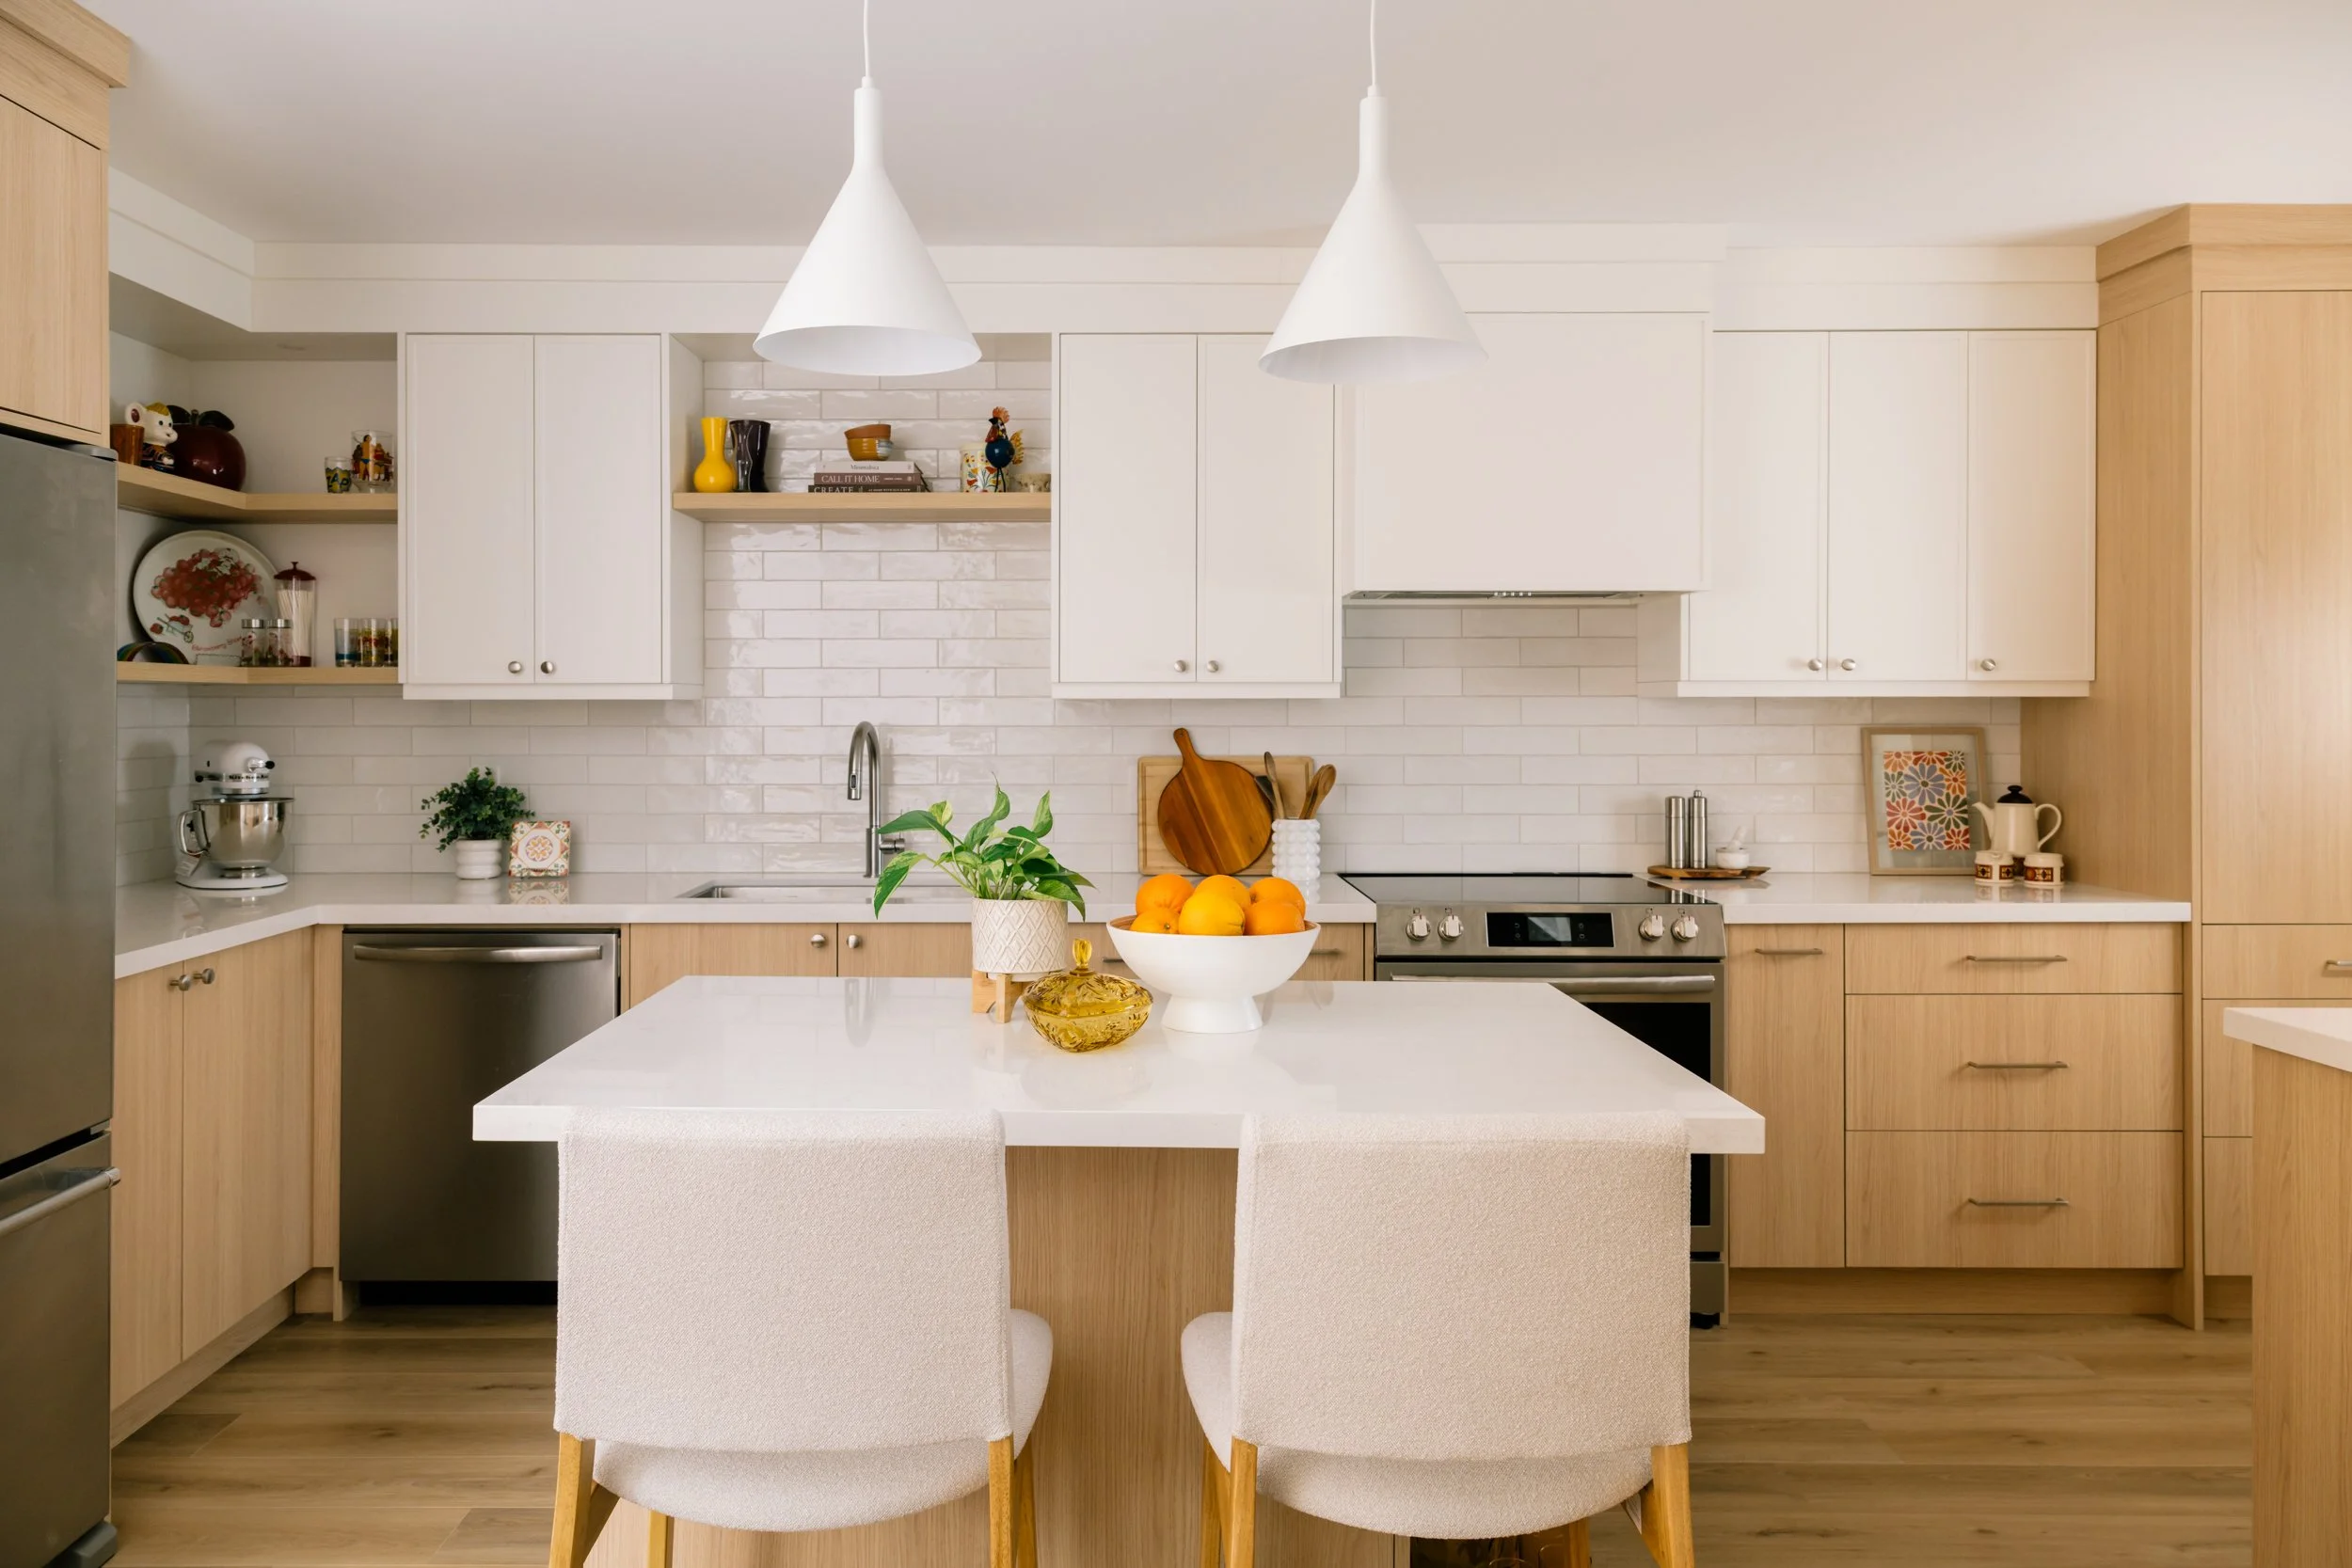
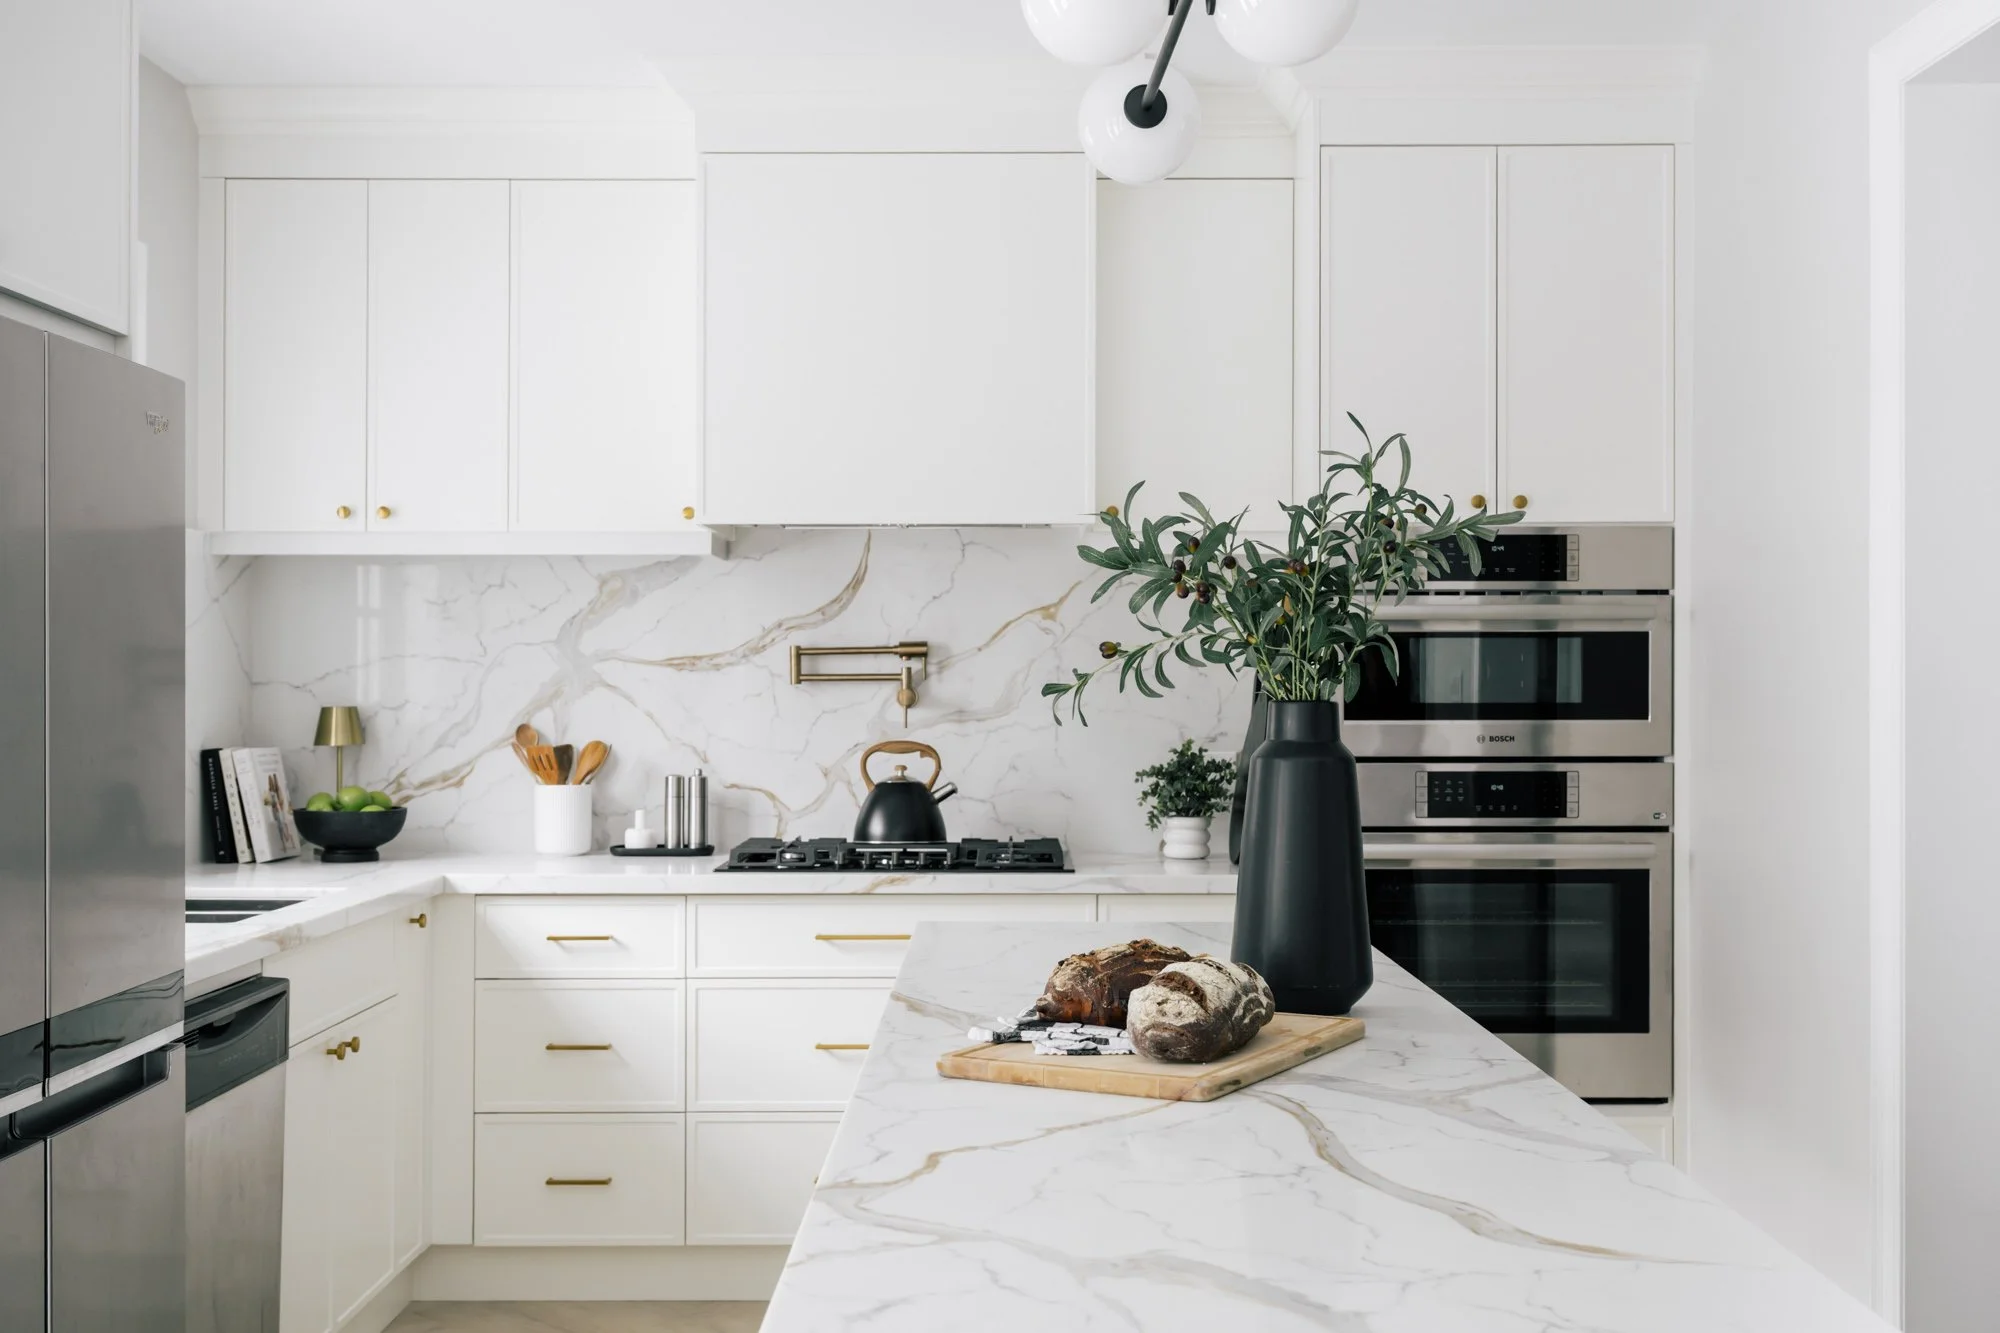
Photographed for The Kwendy Home
3. Hide extraneous wires and cords
Tuck cords and cables away from sight by wrapping them or temporarily taping them behind furniture.

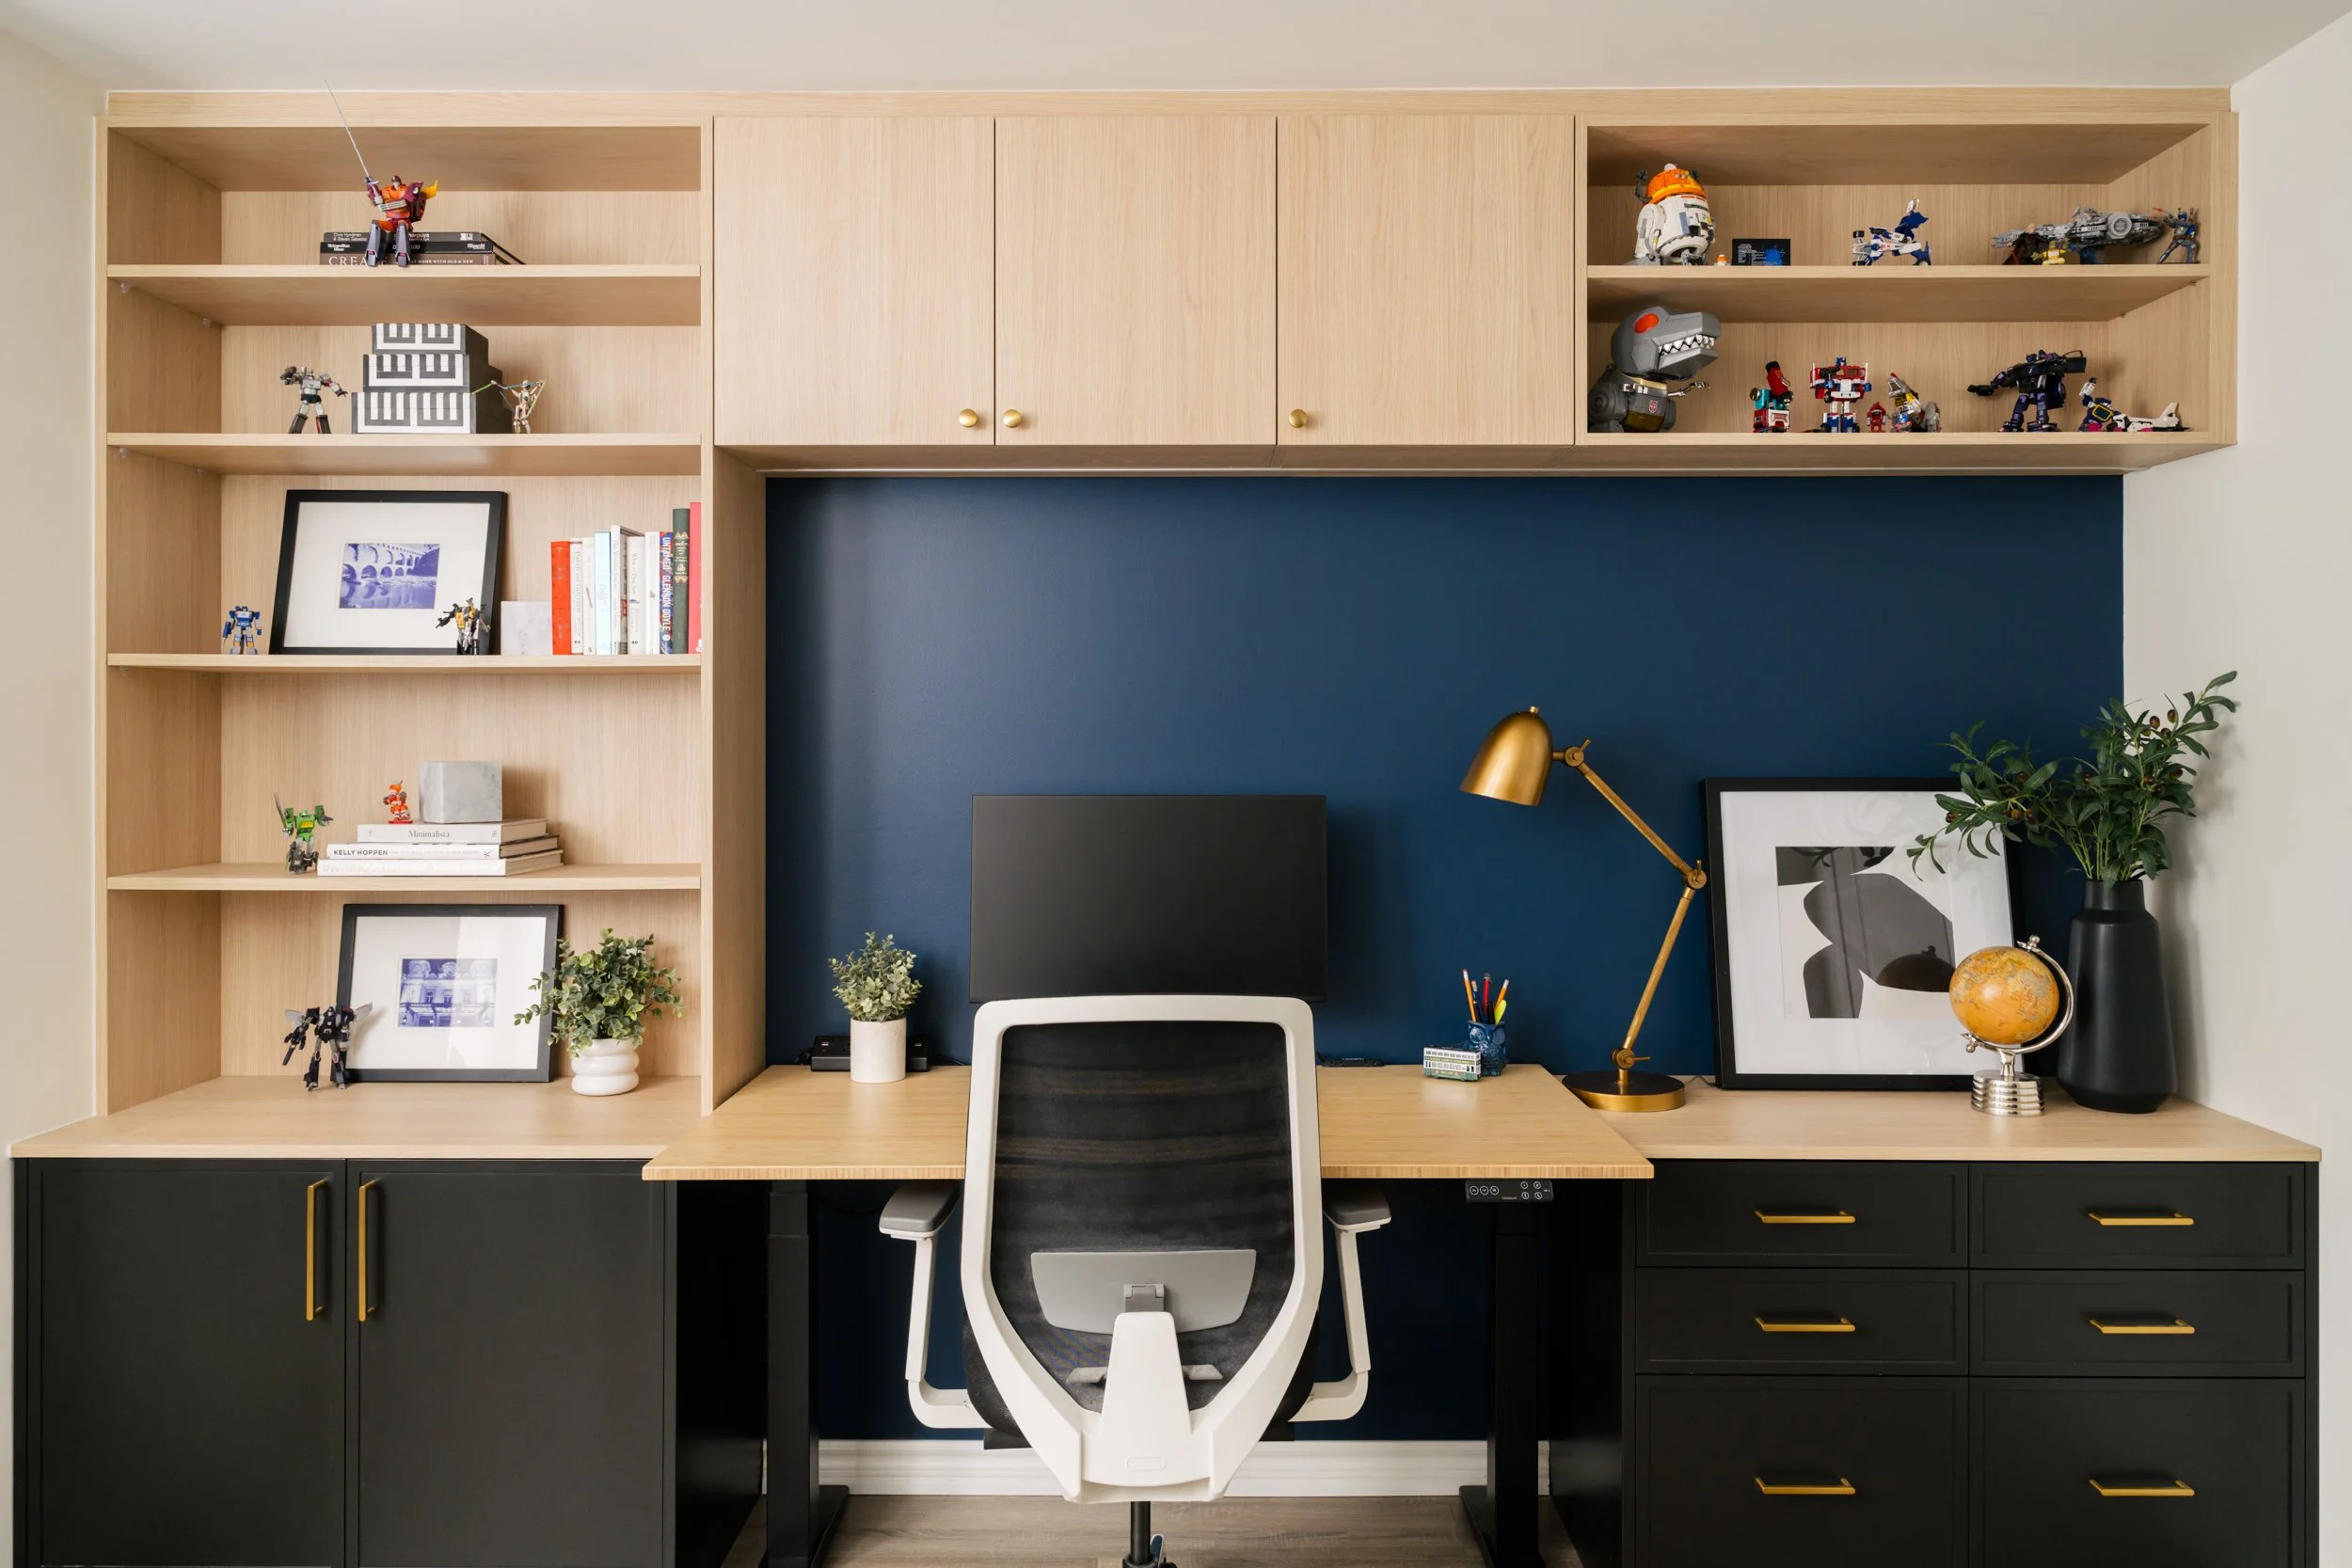
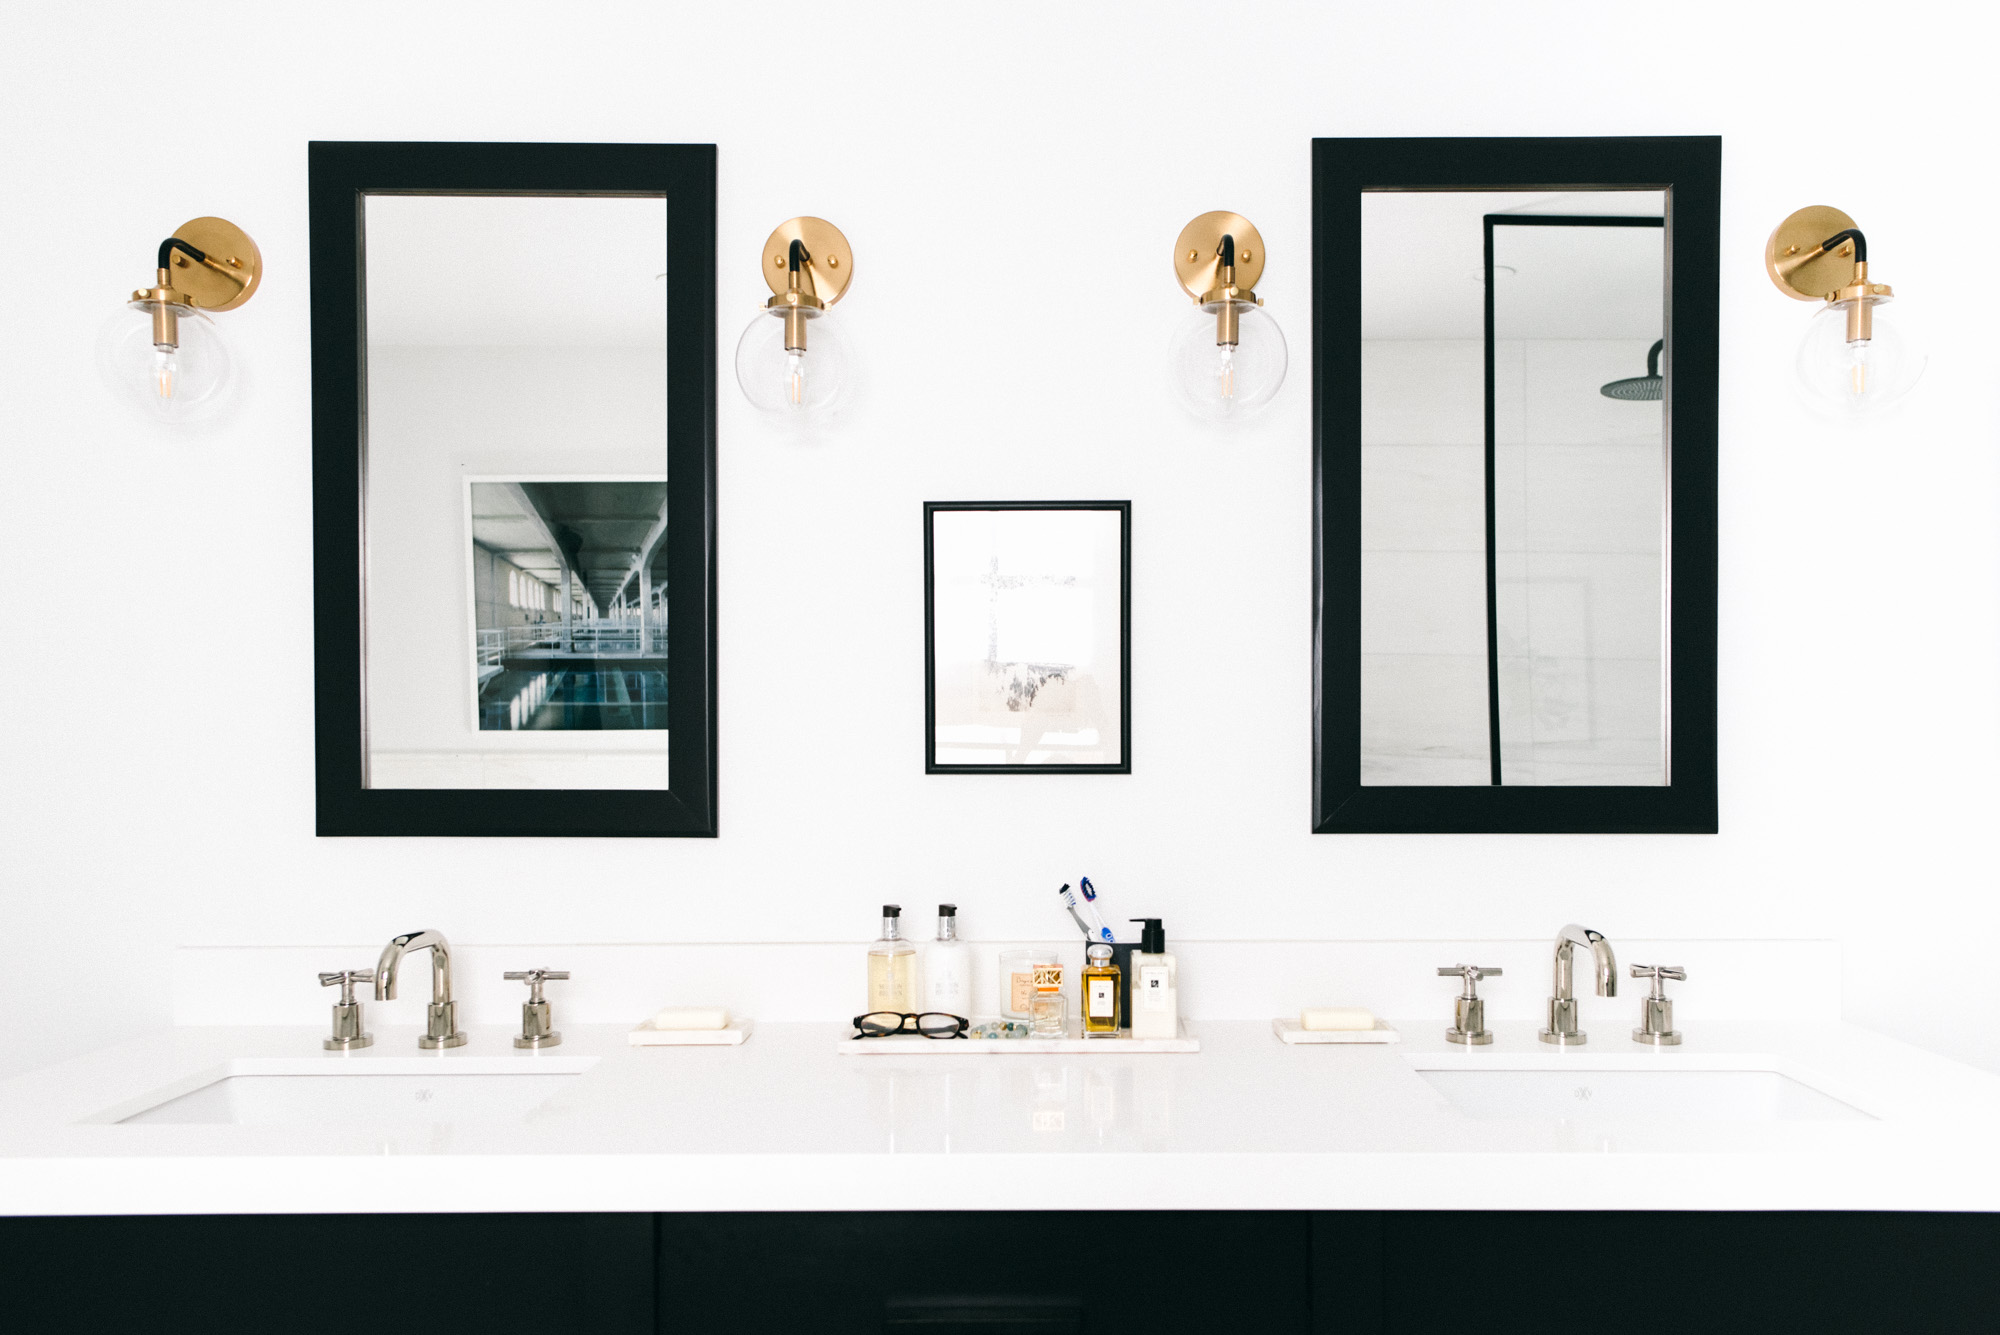
Photographed for The Kwendy Home
4. Straighten and align furniture, mirrors, artwork
Use walls and floors to help align furniture, mirrors and artwork to surroundings. Make sure objects are level and evenly spaced.

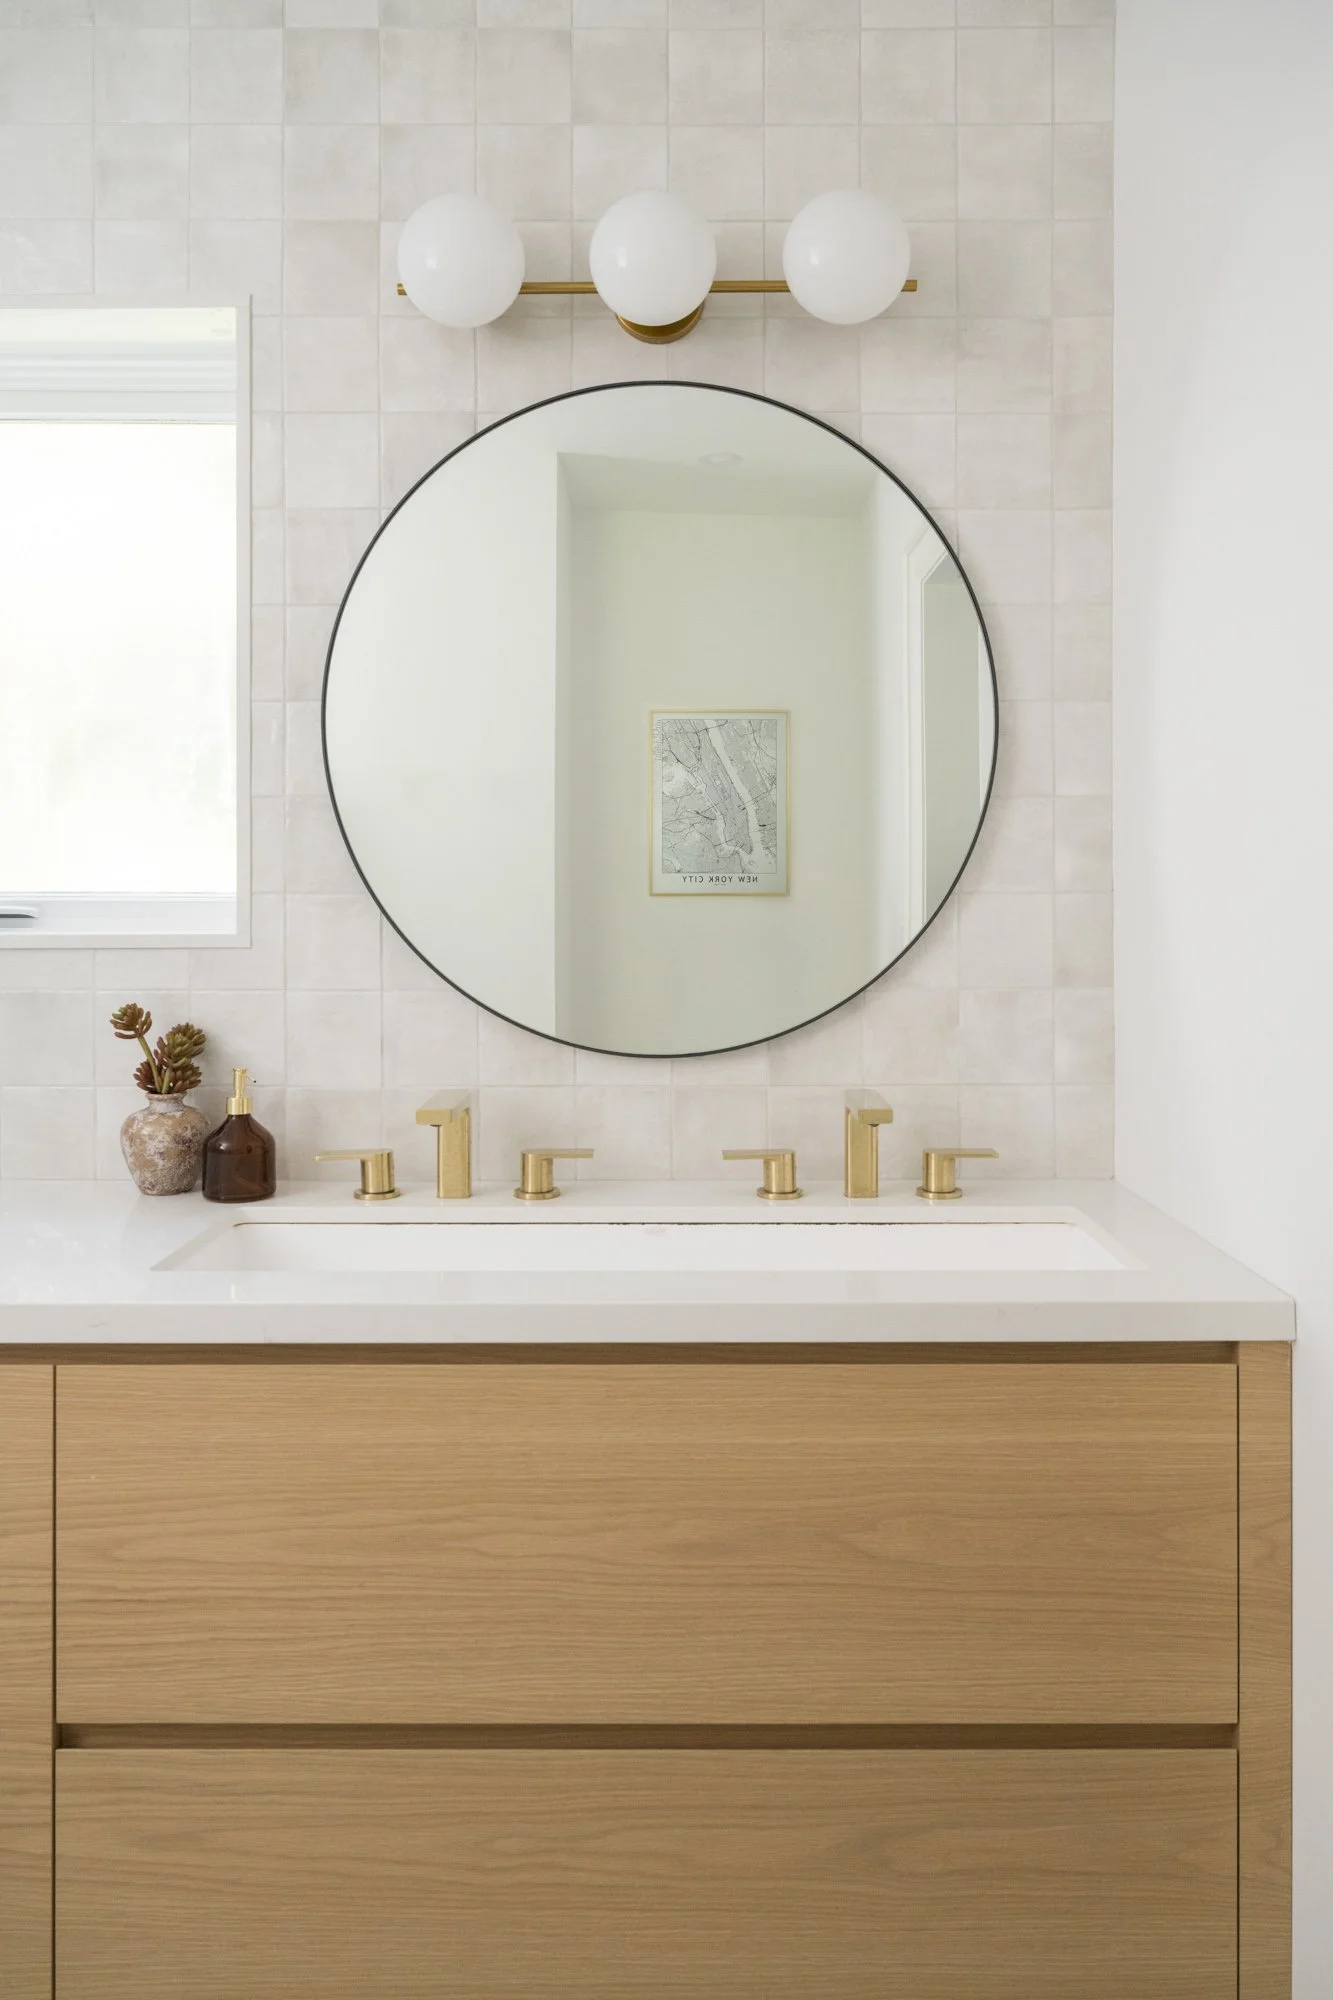
Photographed for 1smallspace
5. Fabrics
Iron or steam out fabrics like bedding, throw blankets, curtains and pillowcases so they aren’t wrinkled.
Fold and tuck in bedsheets and linens. Remember to pull the sheets taut. Watch the corners and edges to make sure the covers and throws are evenly spread out and nothing unwanted is showing. We want the bed to look fresh and inviting.
If pillows are looking a little deflated, fluff them by lightly punching in the sides. You can then karate chop it down the middle to give it dimension, but keep in mind that may not work for pillows without feathers.

Photographed for The Kwendy Home
6. Style with Intention
Styling is a whole topic on its own, but here are a few small but effective ways to put the finishing touches on any room.
Every piece should be added intentionally. Add personality to the room, but make sure that they work together. Use your style and colour palette as your guide.
Play around with the different heights of your furniture and decor to add dimension. Just be aware that they aren’t too drastic (eg. Tall table lamp and tiny succulent) or else some items will get lost in the final photo.
You can also liven up the room with plant life:
Fresh flowers (Baby’s breath and hydrangeas are simple, popular options)
House plants (Play around with small to large plants in different areas of the room)
Leaves and sprigs (Bundles of eucalyptus leaves and lavender are a nice touch)