Originally published December 13, 2019
Updated May 9, 2024
If you haven’t read the first 2 parts in the How to Photograph Interiors series, you can go back and read them first:
Part 1: Preparation
Part 2: Photography
Part 3: Post-Processing
Now that we’ve covered How to Prepare for an Interior Shoot in Part 1 and The Photoshoot in Part 2, we can move onto the post-production process.
One of the best ways to keep your client’s images safe (so that you actually have photos to edit and deliver) is to be over-prepared. When packing your gear for a shoot, consider bringing a portable external hard drive and laptop with you so you can backup the RAW files immediately. This ensures that you’ll have a copy in case anything happens such as lost or corrupt memory cards, water damage, etc. and these things happen more often than you’d expect.
3-2-1 Backup Strategy
As a general guideline, you can follow the 3-2-1 Backup Strategy:
Make 3 copies of the RAW files, 2 on separate hard drives and 1 offsite (eg. uploaded to the cloud or stored safely at another physical location like a trusted family or friend’s place).
Once you’ve made these backups, you can now start editing. We’ll keep this editing process minimal (ie. without using presets) so that you can understand the basics.
1. Organize your photos
Everyone has their own way of filing their photos. Once you’ve decided on what works best for you, stick to it. This is how I organize them so feel free to change it according to your needs.
After every shoot, I organize the photos by year and then by date. Here’s the hierarchy of folders on my external SSD external hard drive:
> Photography - Work
> 2024
> yyyy-mm-dd Interior - Designer’s Name (Address of Location) - Raw photos
> Final - Final high-res JPG photos to be delivered
> Web - A few selected web-resolution JPG photos to be used on portfolio/social media
(This is optional but it’s useful so you have that new work ready to update your portfolio/social)
2a. Culling
If you shoot weddings or events where you shoot a few hundred photos, it’s best to cull the set first. This means that you take a first pass through them and rate the photos to save you time when you’re actually editing.
During this process, you’re also removing the photos that are unusable (ie. out of focus, accidental shots, people caught mid-blink, etc.). Photo Mechanic is a great tool for culling because it renders previews quicker than Lightroom and has a star and colour ratings.
Develop your own system of rating but here’s an example that you can use when culling in Photo Mechanic or Lightroom:
5 stars = Excellent photo that must be delivered to the client
4 stars = Great photo technically and creatively, but not a top-pick
3 stars = Good photo technically, but not very creative and doesn’t add to the story/collection
2 stars = Ok photo, but only if needed to fill in gaps in the collection
1 star = Unusable, to delete.
Keyboard shortcut
You can also use the Pick/Reject system in Lightroom by pressing p on a photo to flag it as a pick and x to reject it.
2b. Import photos into Adobe Lightroom
Note: I have one Adobe Lightroom catalogue for all my work projects for the year. Some photographers choose to start a new catalogue for every shoot, which is helpful if each shoot has hundreds or thousands of photos. That helps your computer cut down on the time it takes to load the catalogue.
If you’re culling in Lightroom, drag all the RAW files from its folder into the Library module and start the process from there. If you’ve already culled your photos, select the RAW files you want to edit and drag them from the folder into the Library module.
Another way to do it is to go to File > Import Photos and Videos. Then navigate to the RAW files’ folder in the left panel:

As you’re importing, add relevant keywords in the File Handling/Apply During Import panel on the right. Using metadata is important in case you want to search for a specific photo in the future.
When the photos are imported, your Library will look like this (the photos have already been culled and flagged as Picked):

3. Develop Module
Once the photos are in the library, we can edit them. Here are a few things I’ll apply to each photo (either individually or as a batch):
Profile Correction
Check off “Enable Profile Correction” on the first image and sync this setting with all the photos. It’s located in the Lens Correction panel on the right (you may need to expand the panel). This ensures that every photo has the correct camera profile applied. Different cameras and lenses render photos differently so it’s best to turn on this correction.

Transform
With each photo, you may need to use the Auto or Vertical if the photo wasn’t level during the shoot. Sometimes, you’ll also need to manually adjust it using the sliders. Use the horizon lines in the photo and the grid in Lightroom to make sure walls are straight and floors are perpendicular.

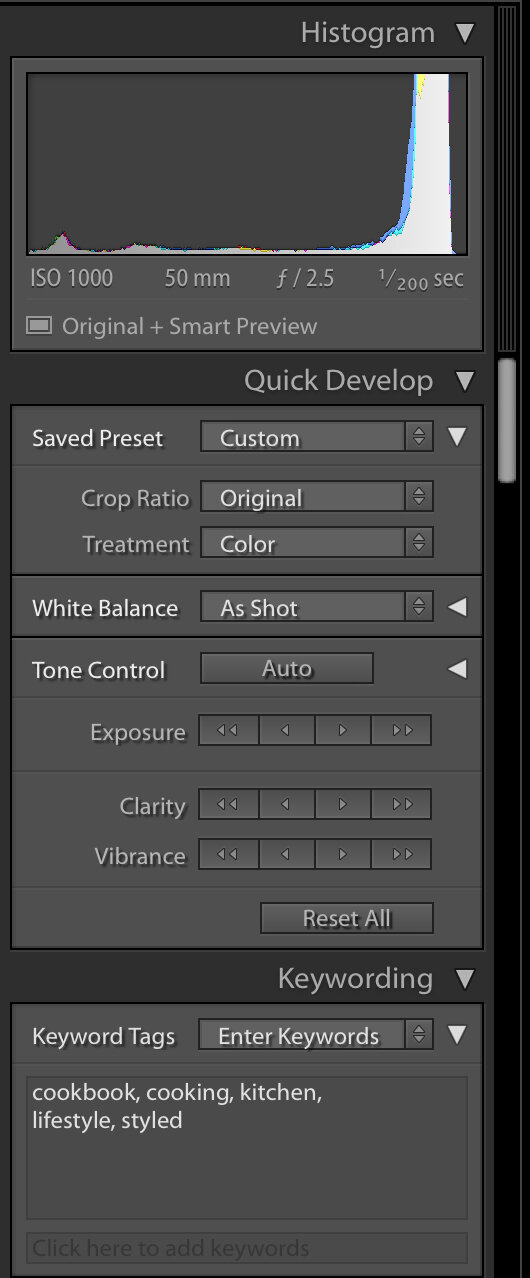
Basic Panel
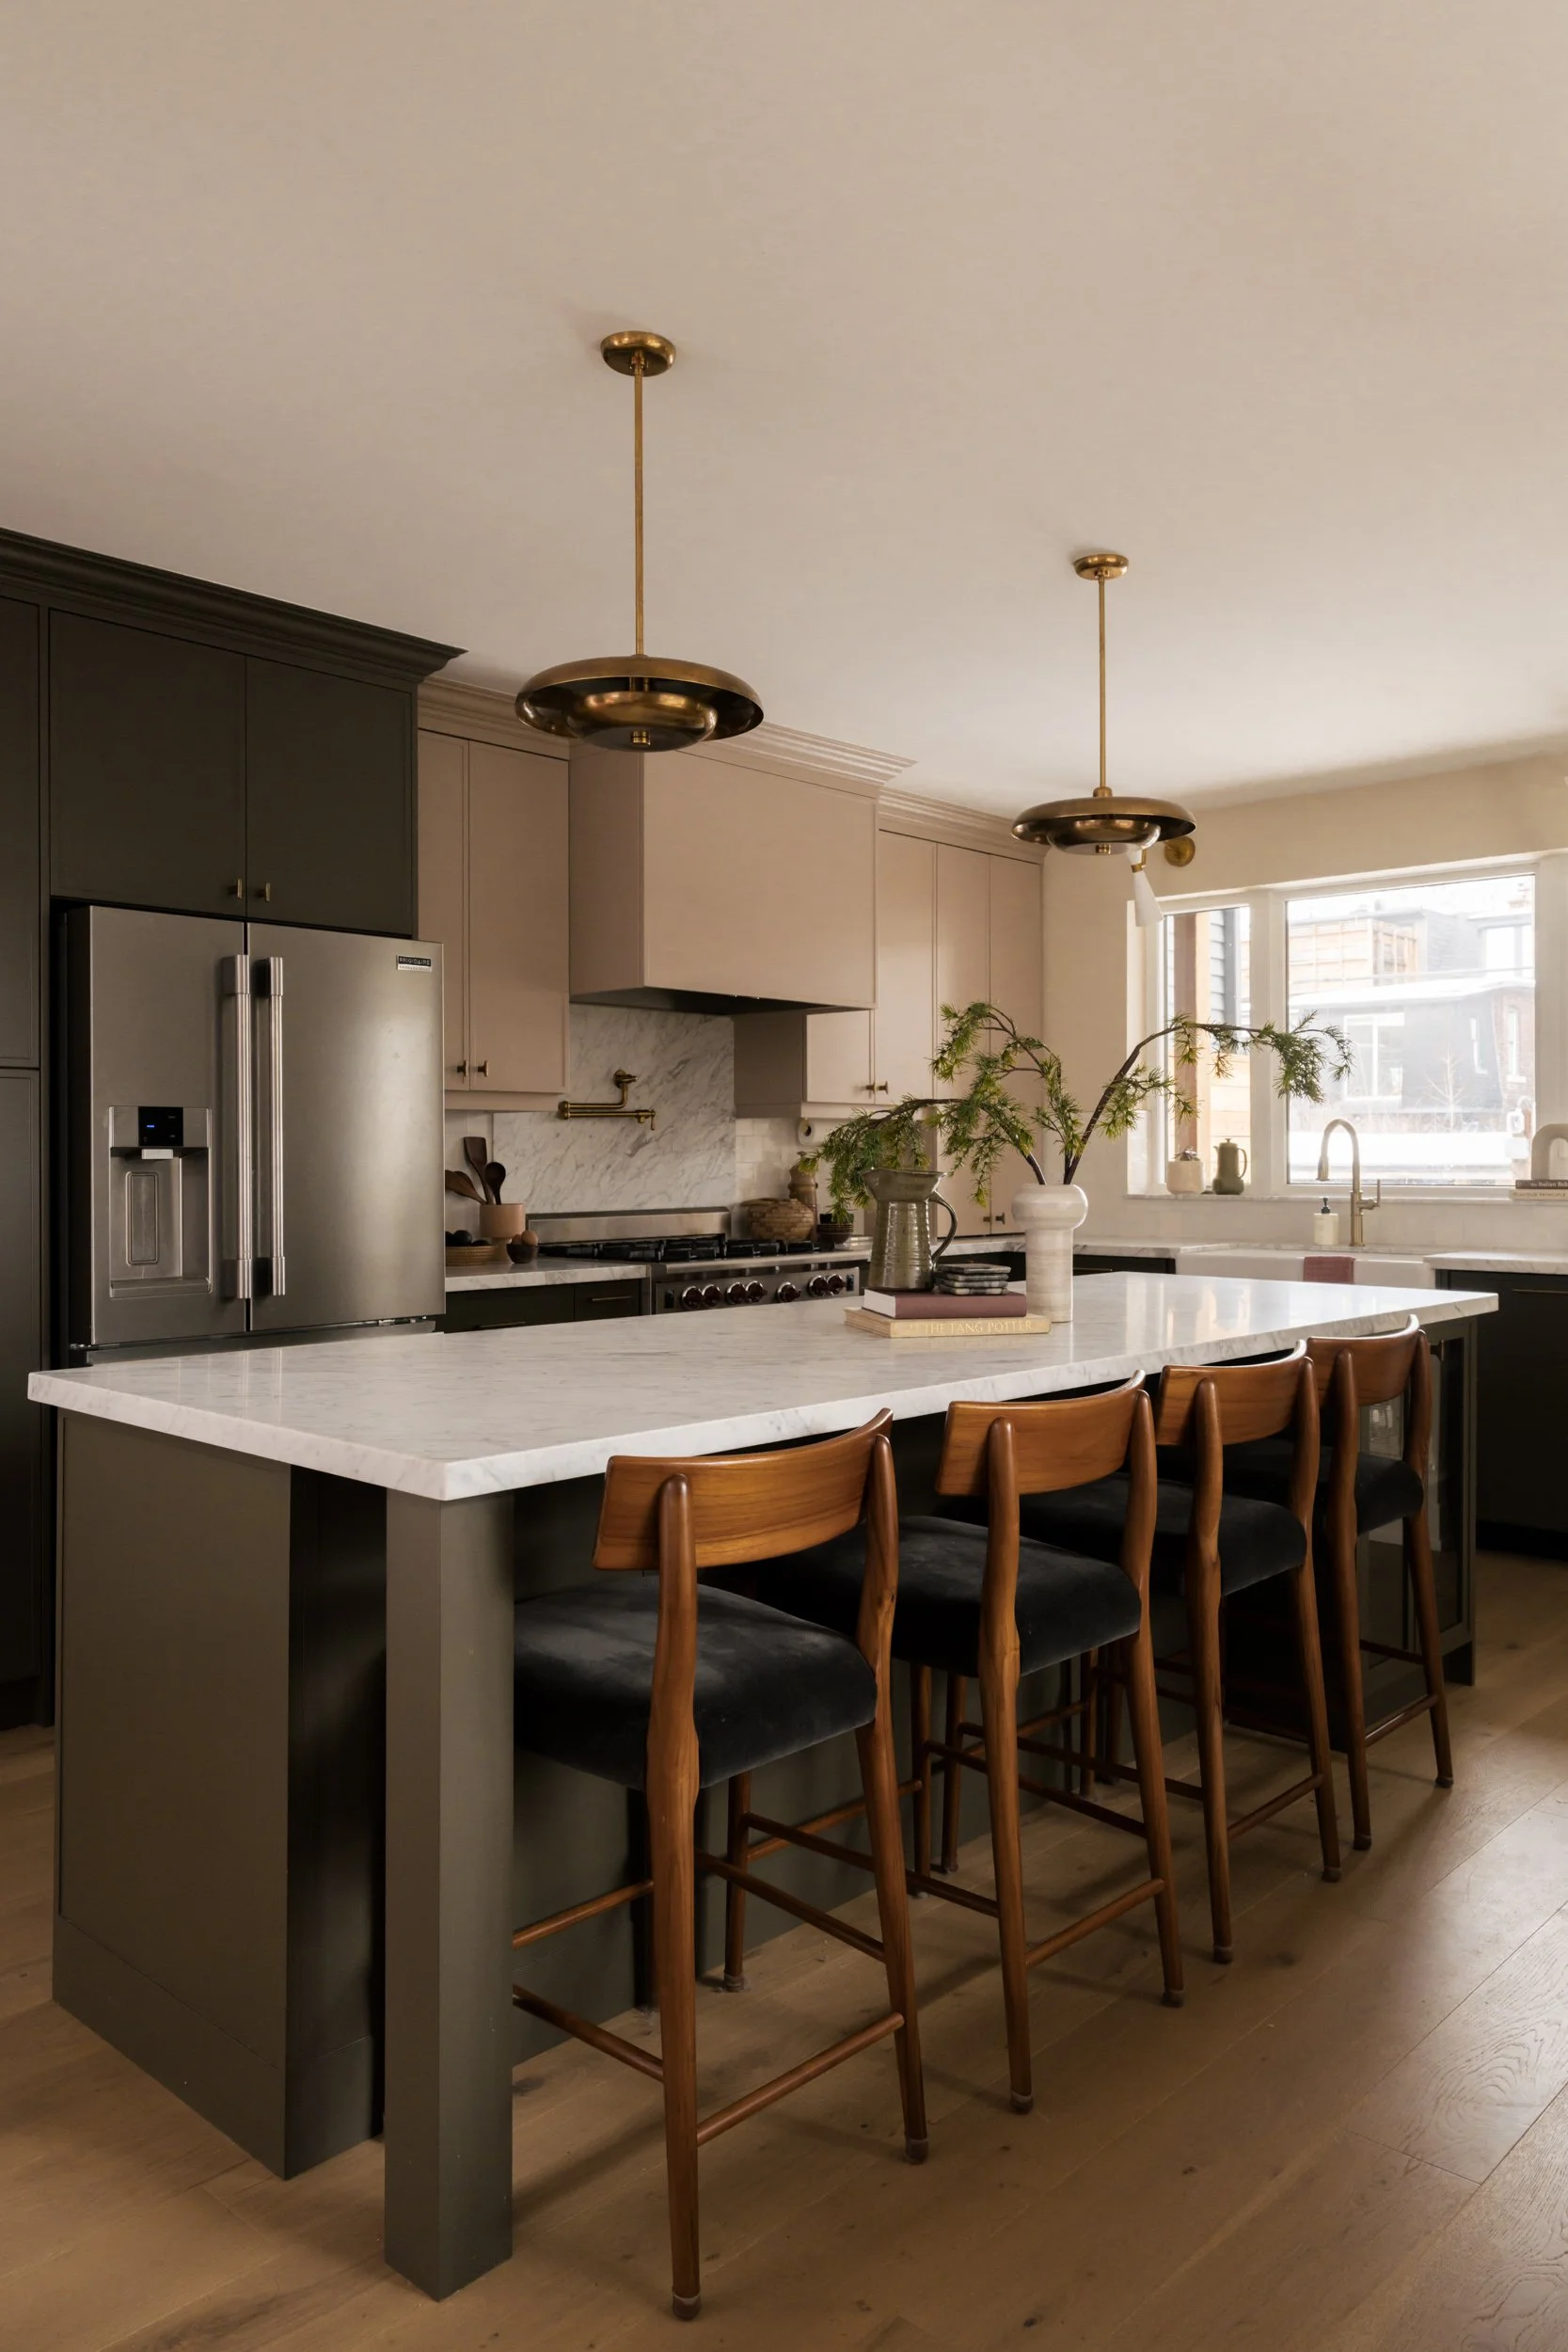
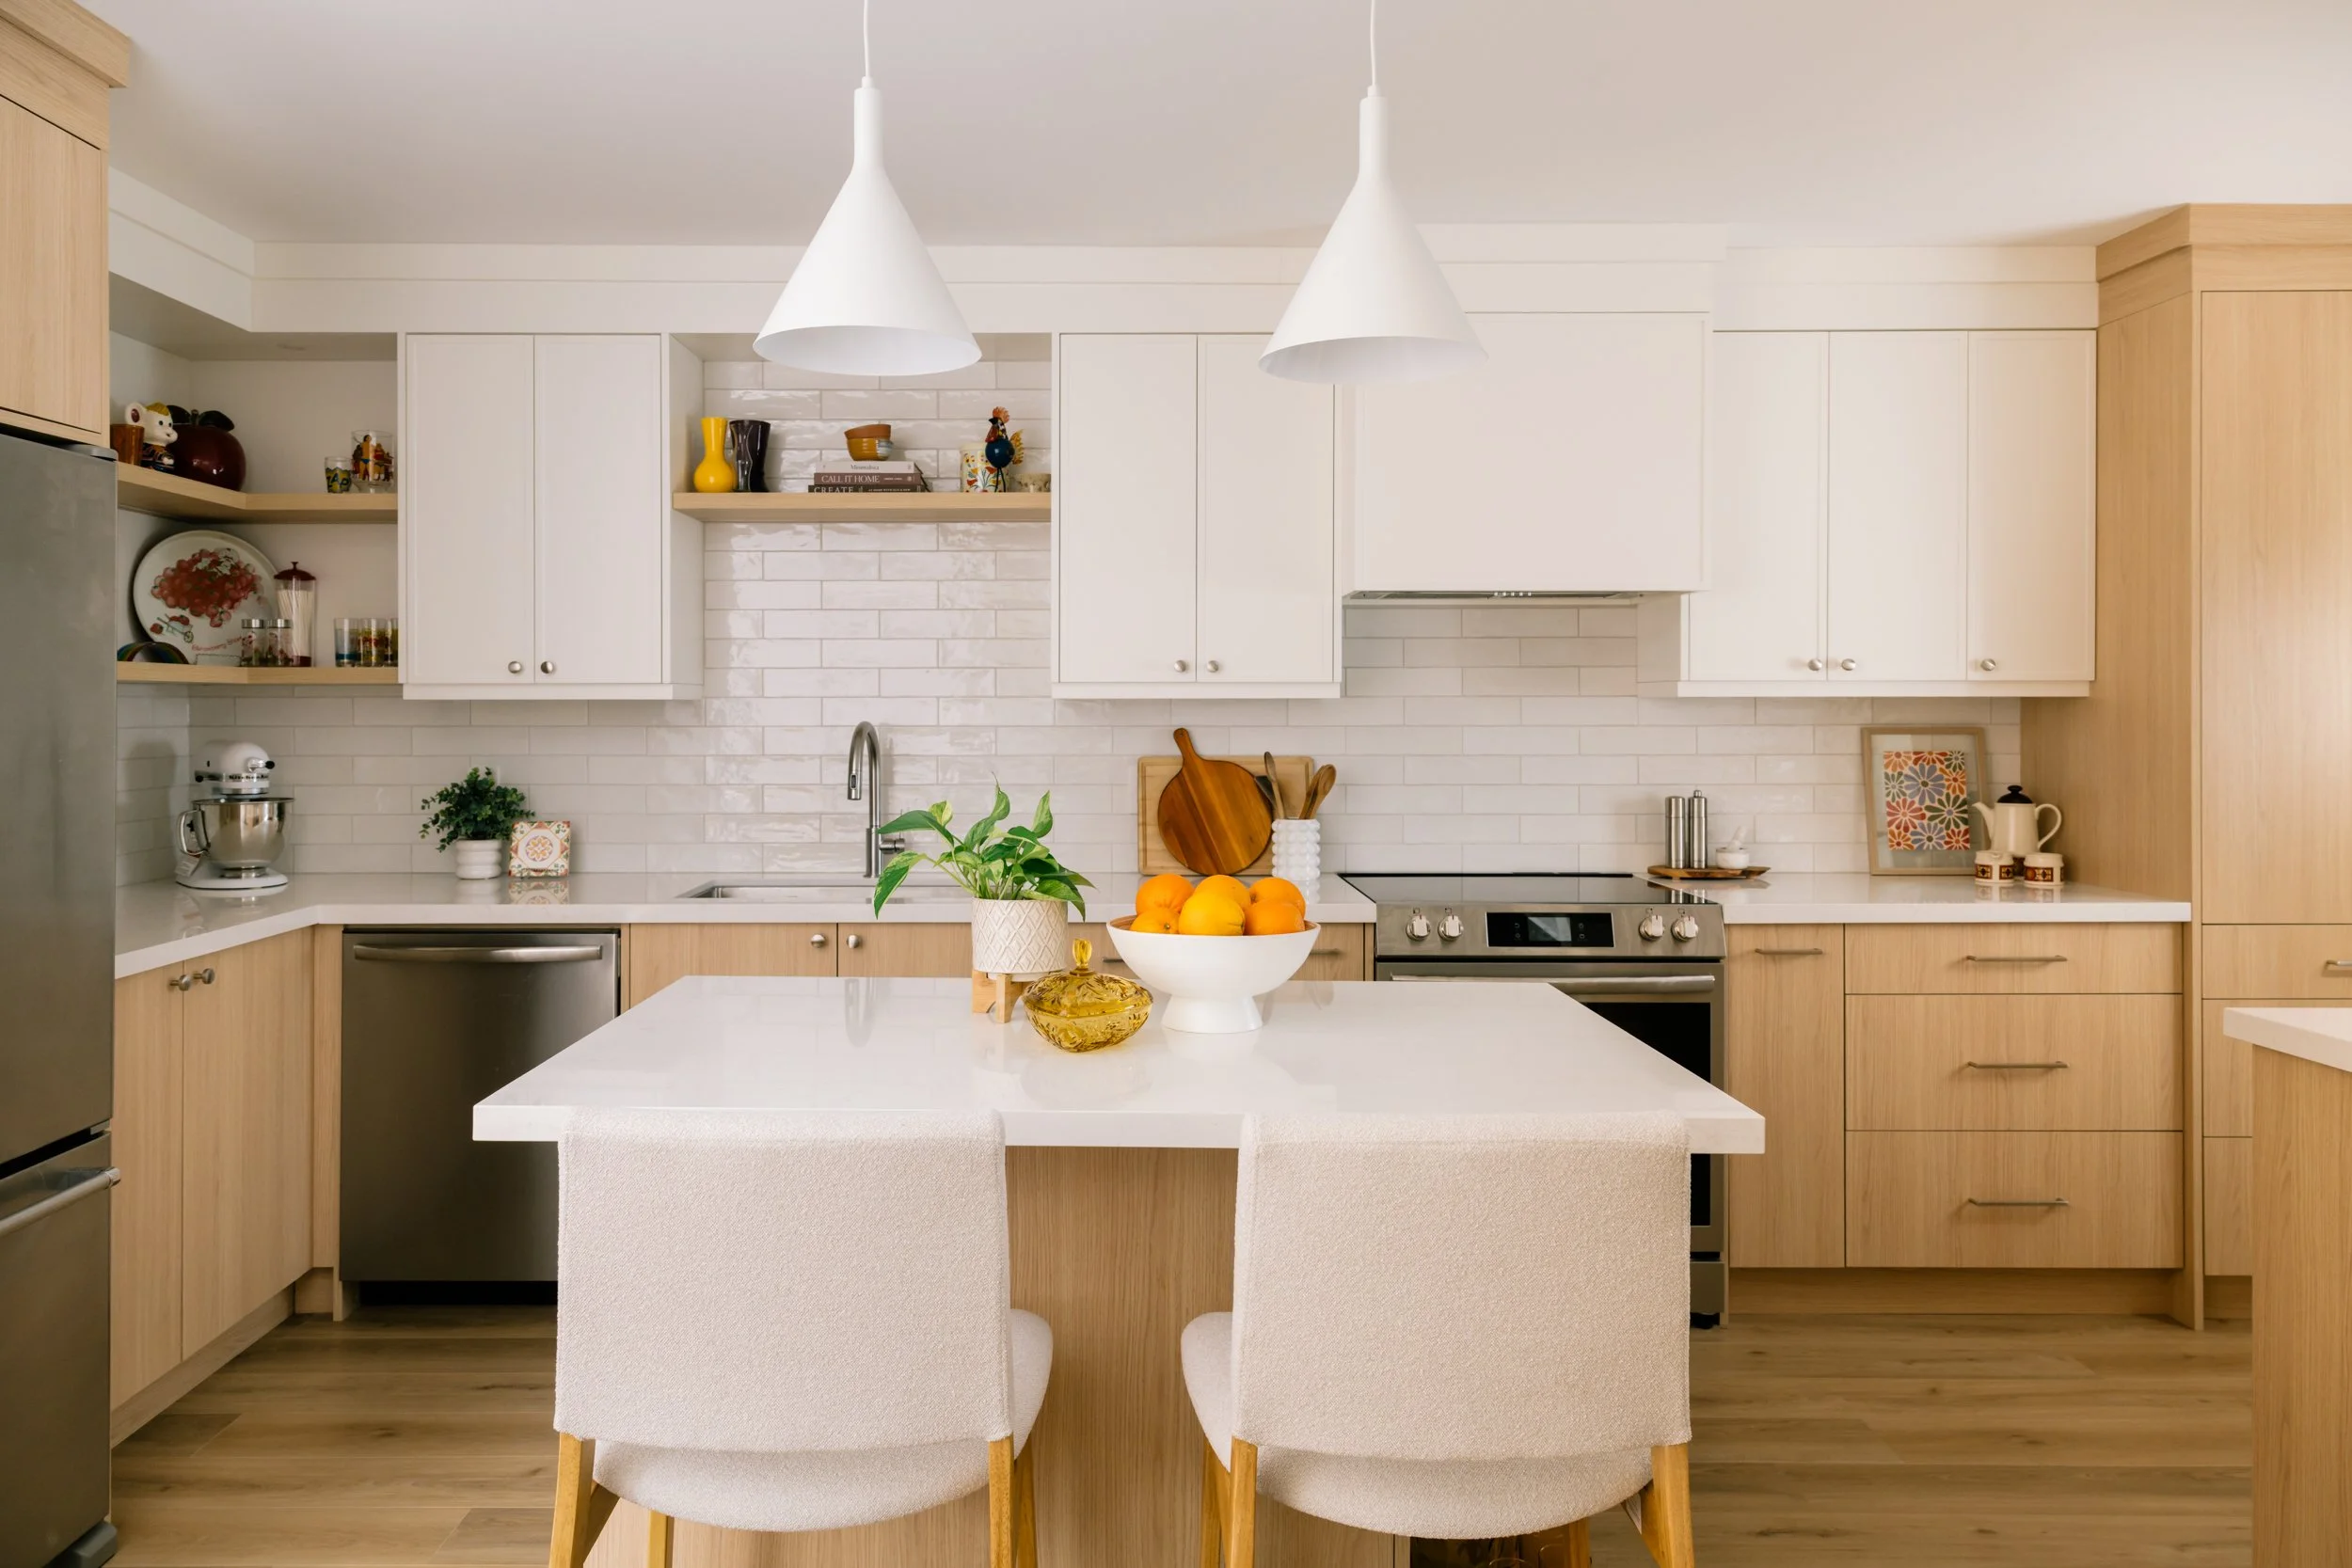
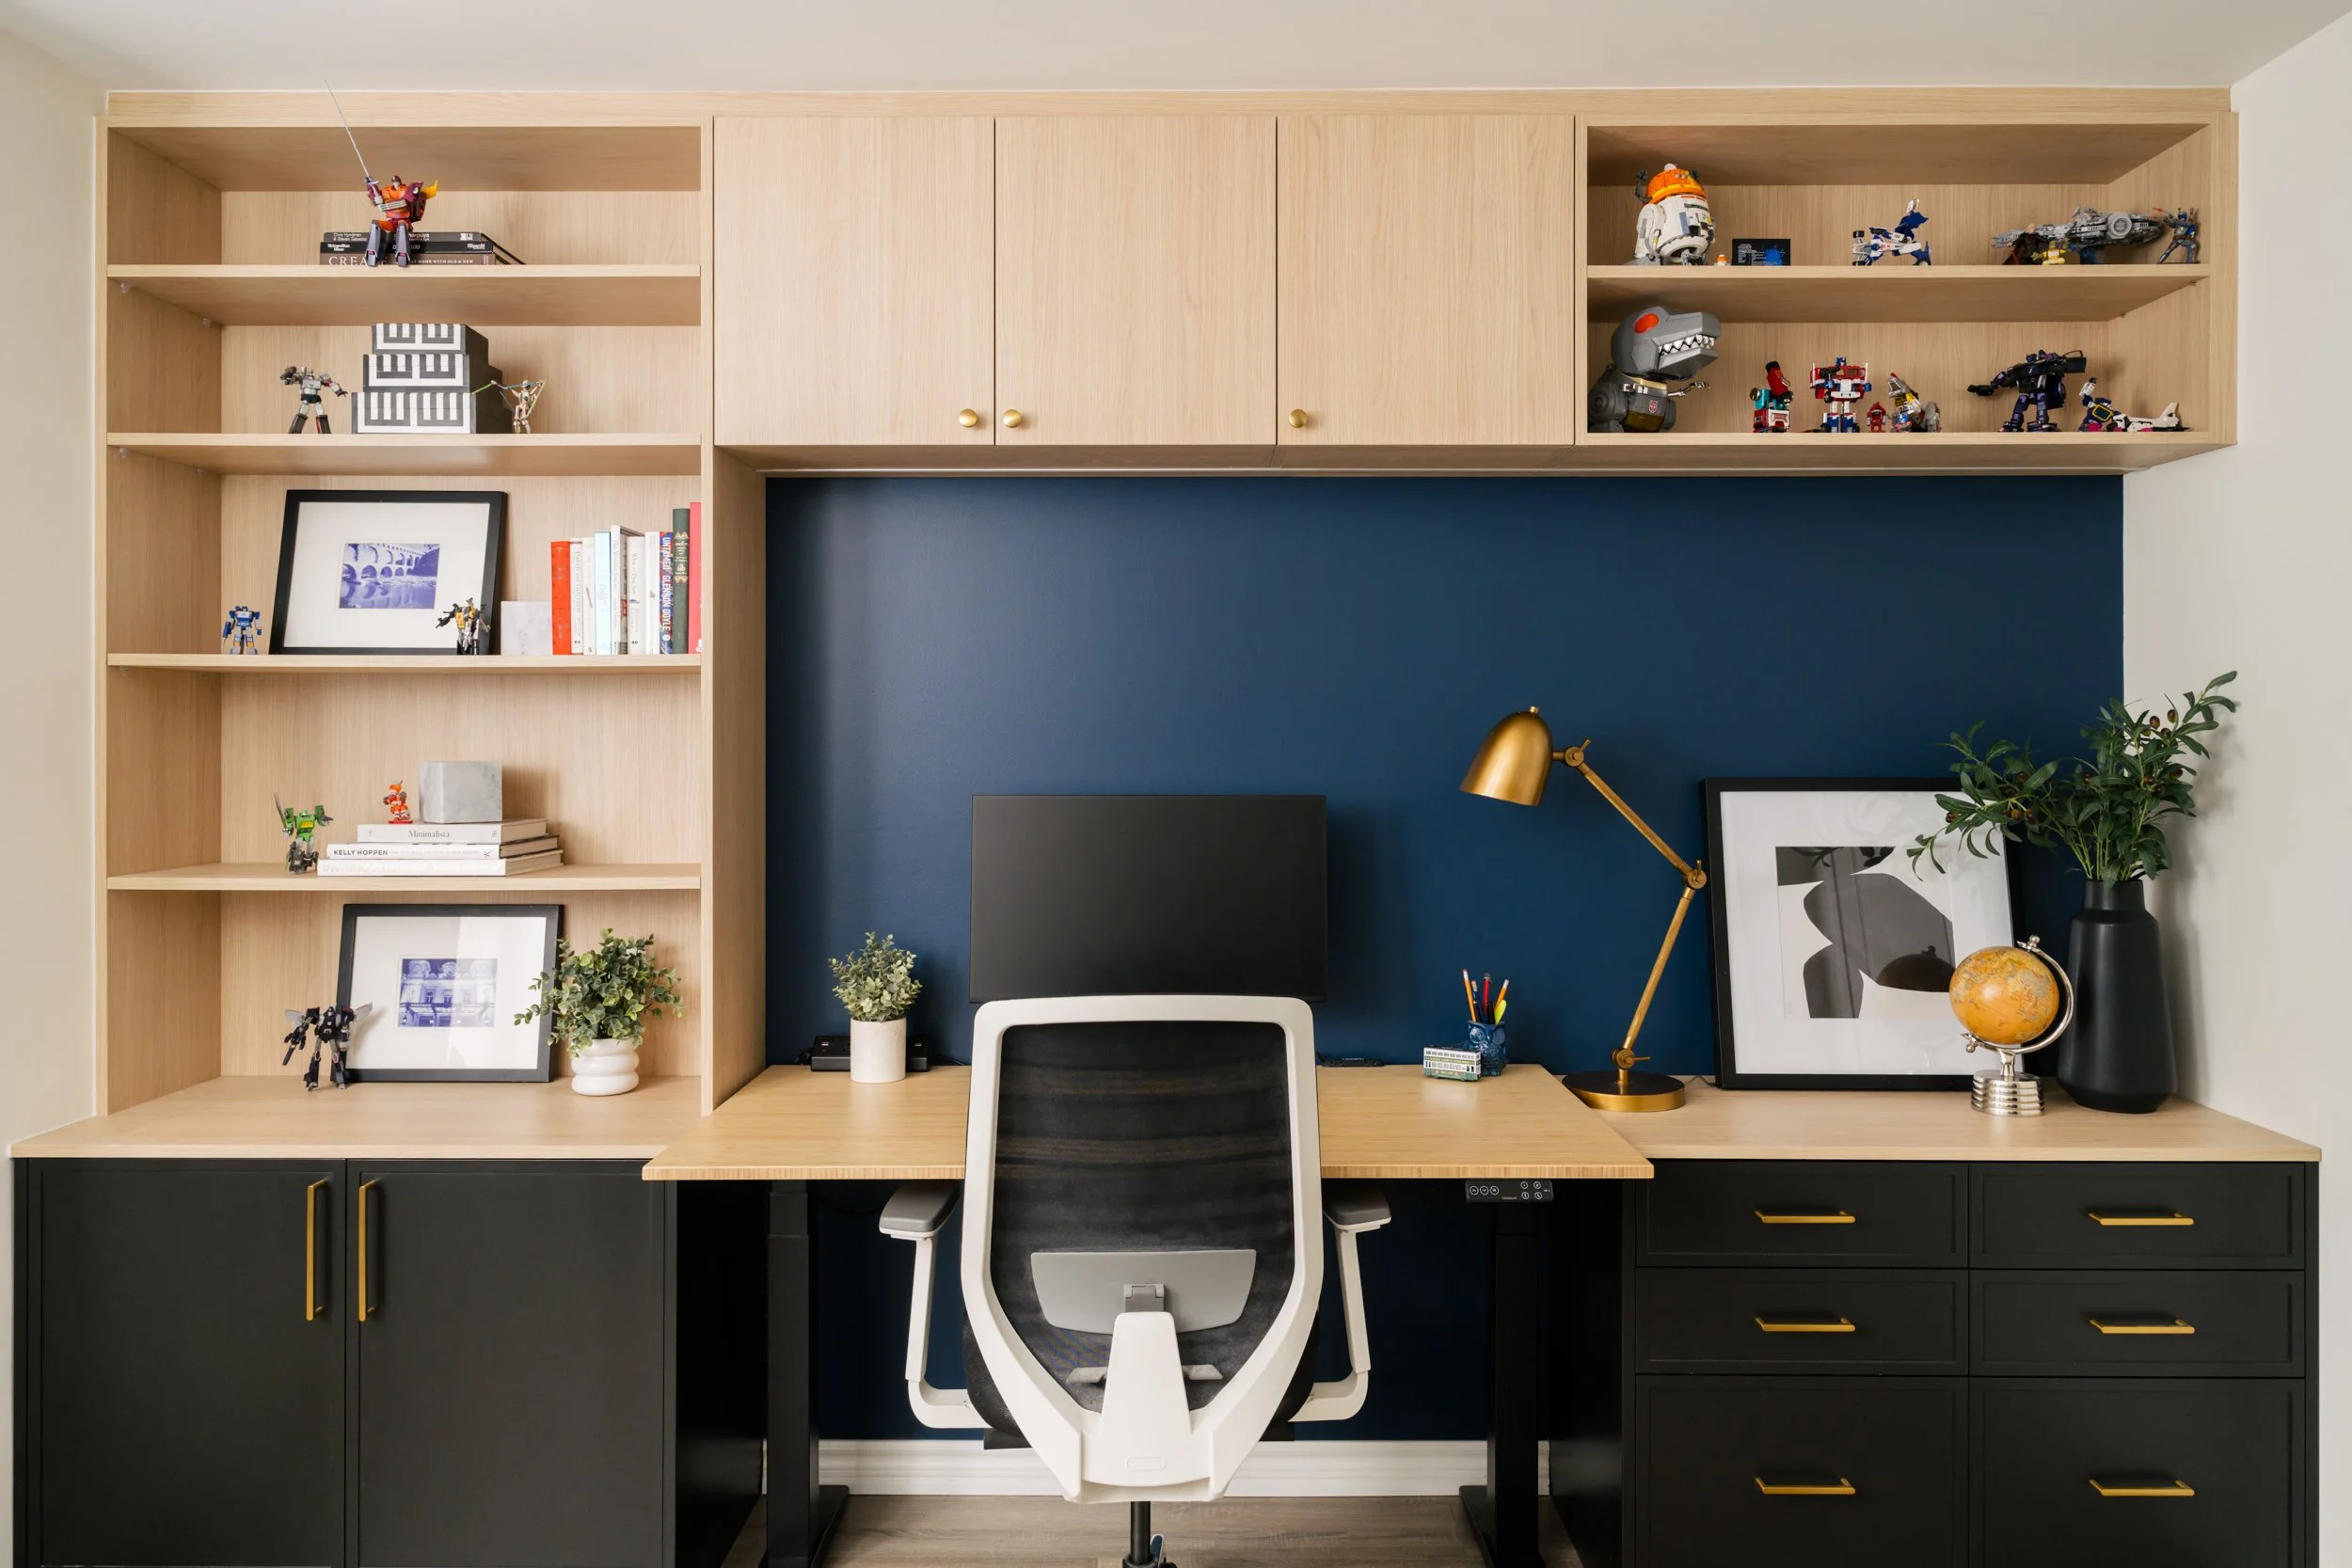
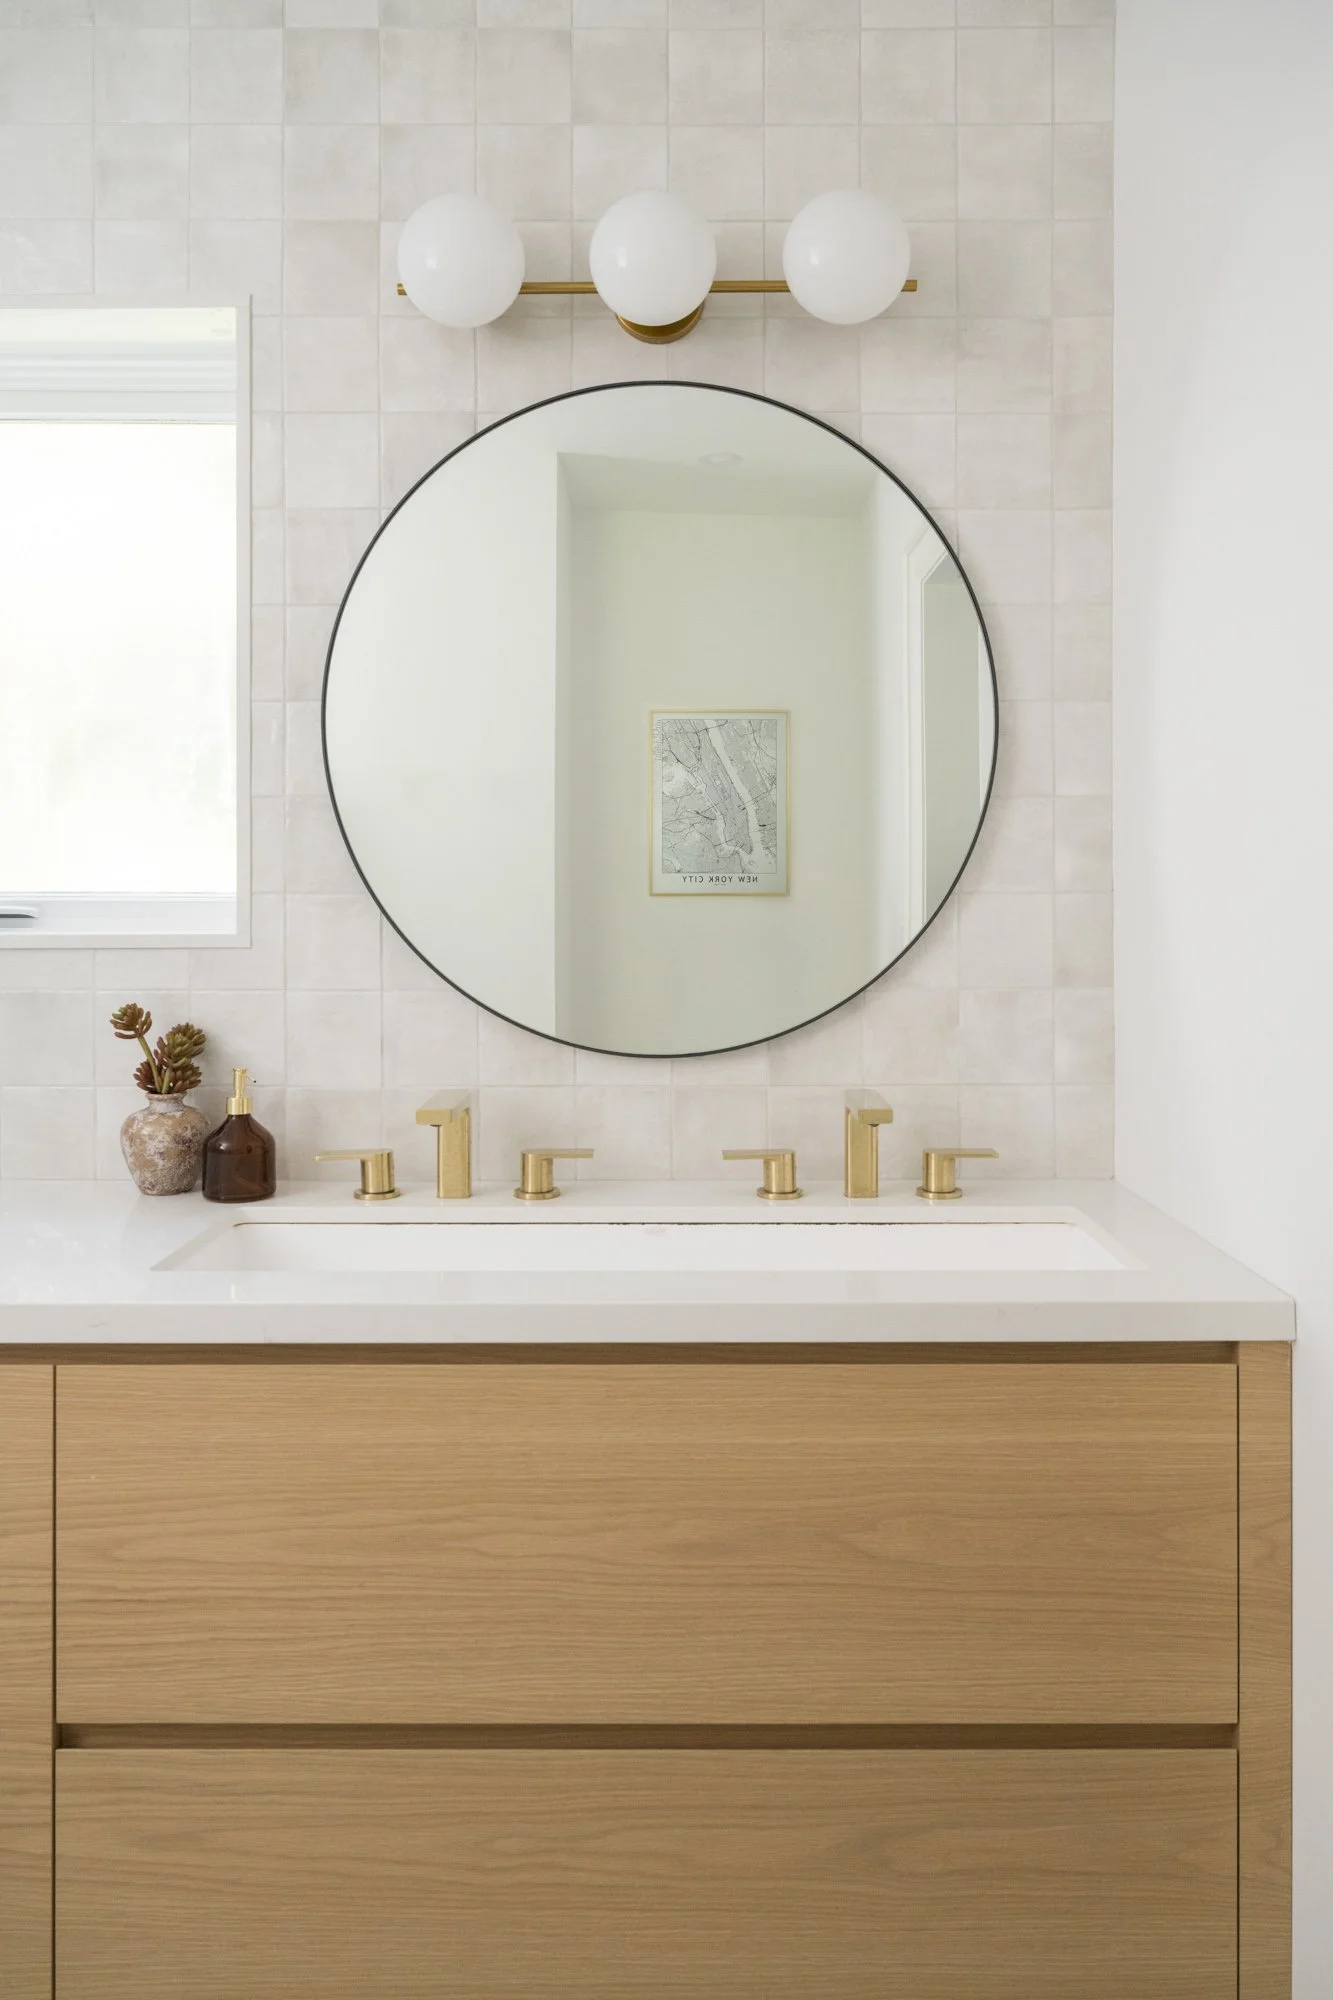
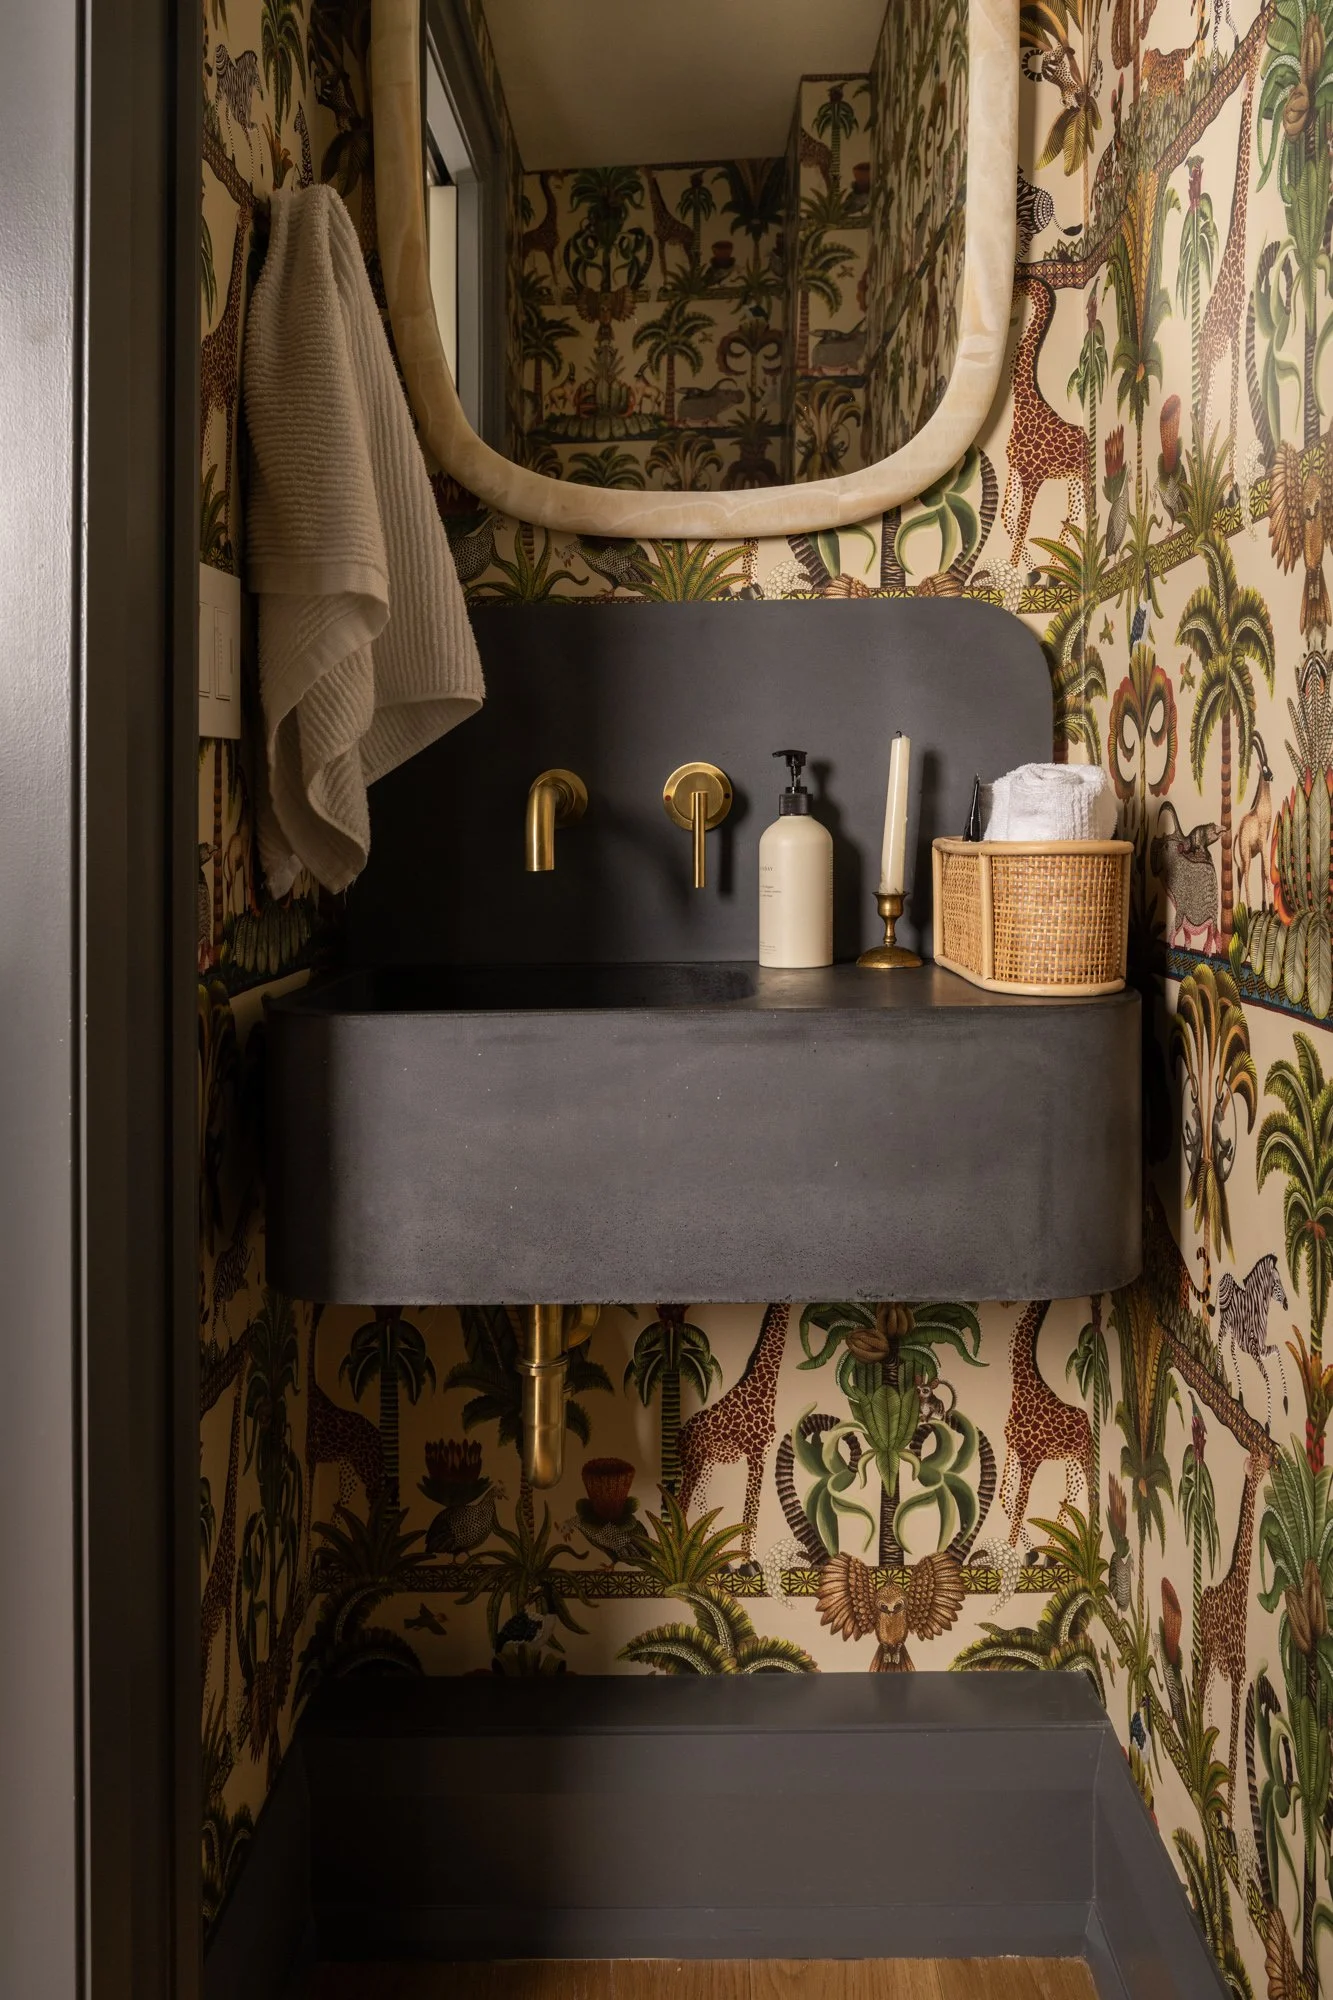
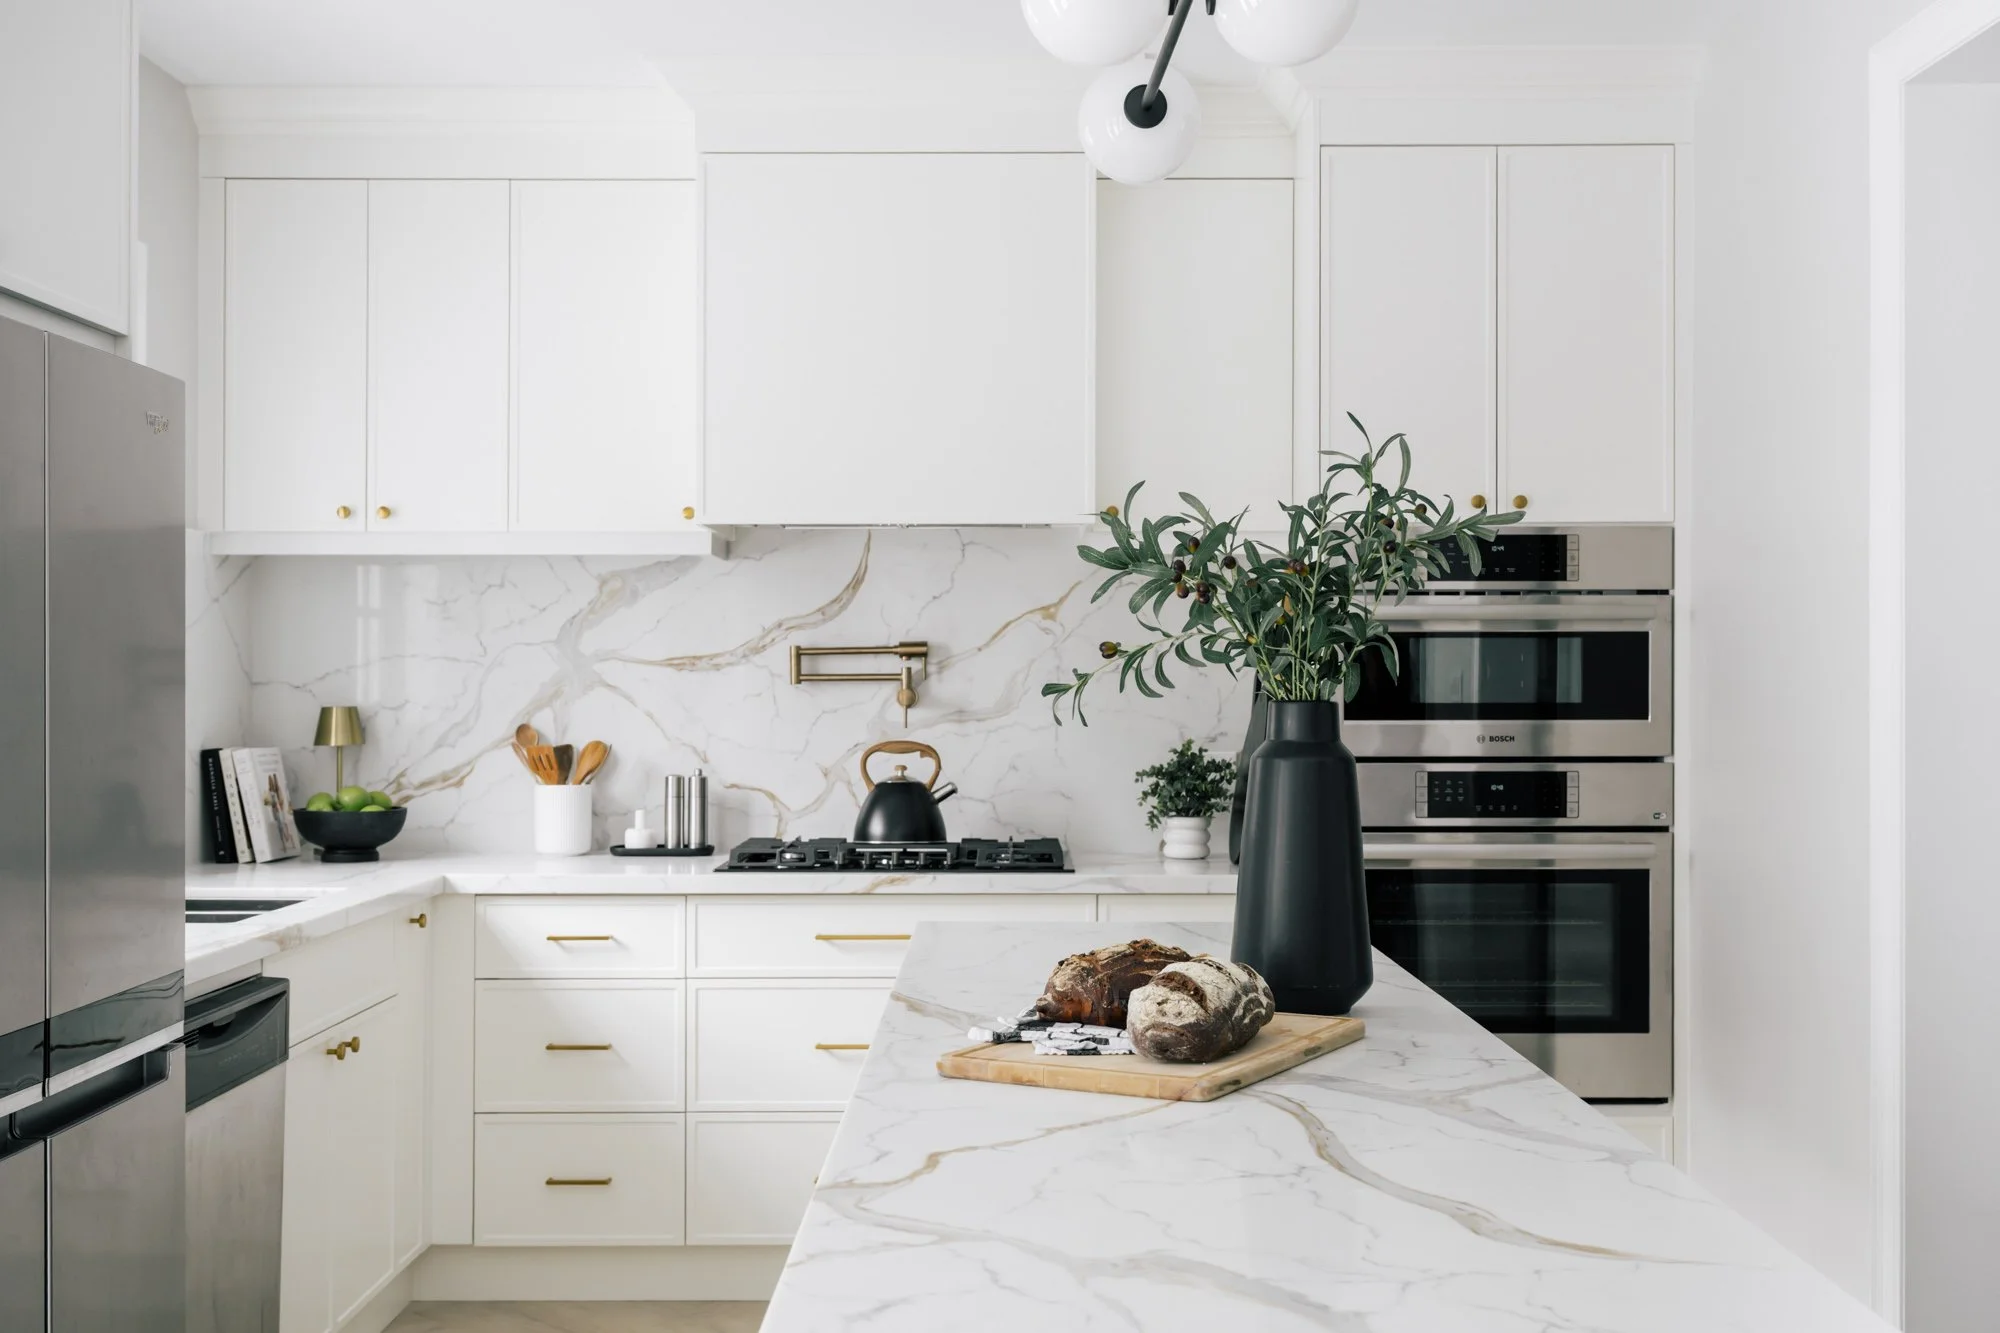
You can make most of your light edits here and deliver great photos. While you are being hired for your style and work, keep in mind the current client and the audience (who may very well include potential clients) to make sure the photos convey the right message.
Correct the white balance so that it represents the room the way you want the viewer to see it. In interior photography, I aim to keep the colours true to life and I check the before and after of the photo (using the \ key) often to do this. Depending on the interior designer, they may not mind stylized post-processing if it gives the room a specific look and feel that they want.
If the highlights in the photo are blown out, you may be able to recover some of the details by lowering the Highlights or Exposure sliders into the negatives.
To add pop to the photo, increase the Contrast bit by bit.
Tip! Watch out for negative impacts on the quality of the image when making adjustments. Be sure to compare the before and after throughout the editing process. Adjust the slider back and forth and dial it back if the effect becomes distracting (eg. too much contrast, loss of important details like highlights or shadows, colours are no longer represented accurately).
Keyboard shortcut: Toggle the before and after by pressing the \ key.
After you’re happy with your edits to one photo, you can apply these same settings to other photos in the batch that have a similar lighting and colour situation. This will save you some time, but don’t forget to review each photo to make sure they’re consistent.
When the entire set is finished, filter the photos to make sure only your final selects are shown. Select them all and go to File > Export. Go through each section and make changes as necessary. Here are some examples:
Save the exported photos to a specific folder.
Custom rename the files according to the shoot and client.
Change the quality and resolution of the photos according to the client and use.

After you’ve exported and delivered the photos to your client, make backups of your RAW and JPG files to external locations (external hard drives, cloud storage, etc.). It’s useful to have them ready to show as portfolio work.
Thank you for following along in this How to Photograph Interiors series. I hope this has been helpful!