How to Photograph Interiors (Part 2): The Photoshoot

Originally published: Sept 16, 2019
Updated May 9, 2024

Welcome to the second instalment of How to Photograph Interiors. In Part 1 of the series, I shared a checklist on how to prepare for a shoot. Once you’ve gone through that list, you’re now ready to shoot.

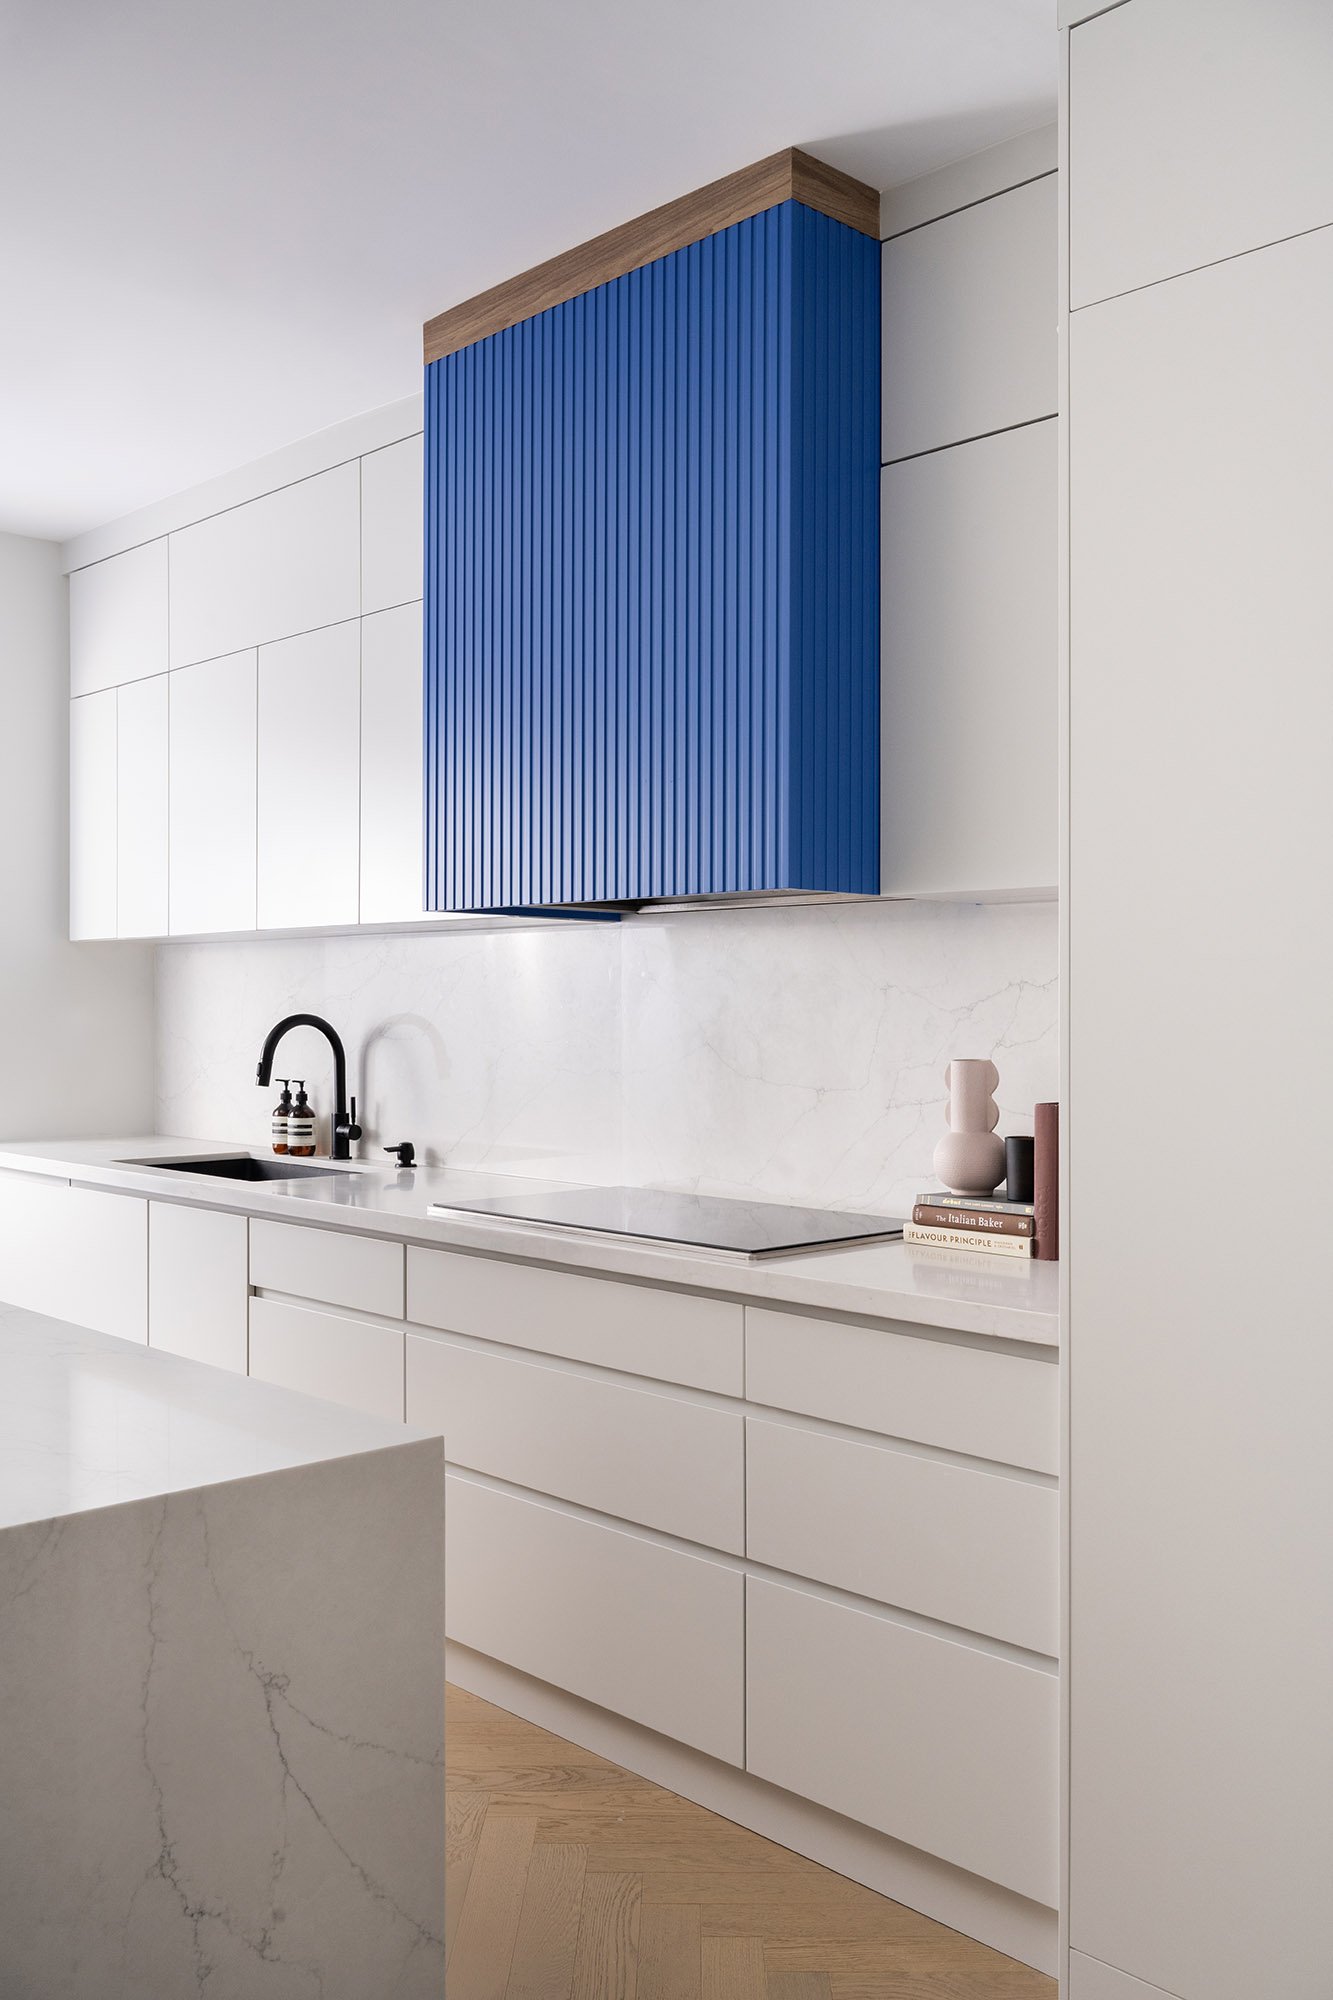
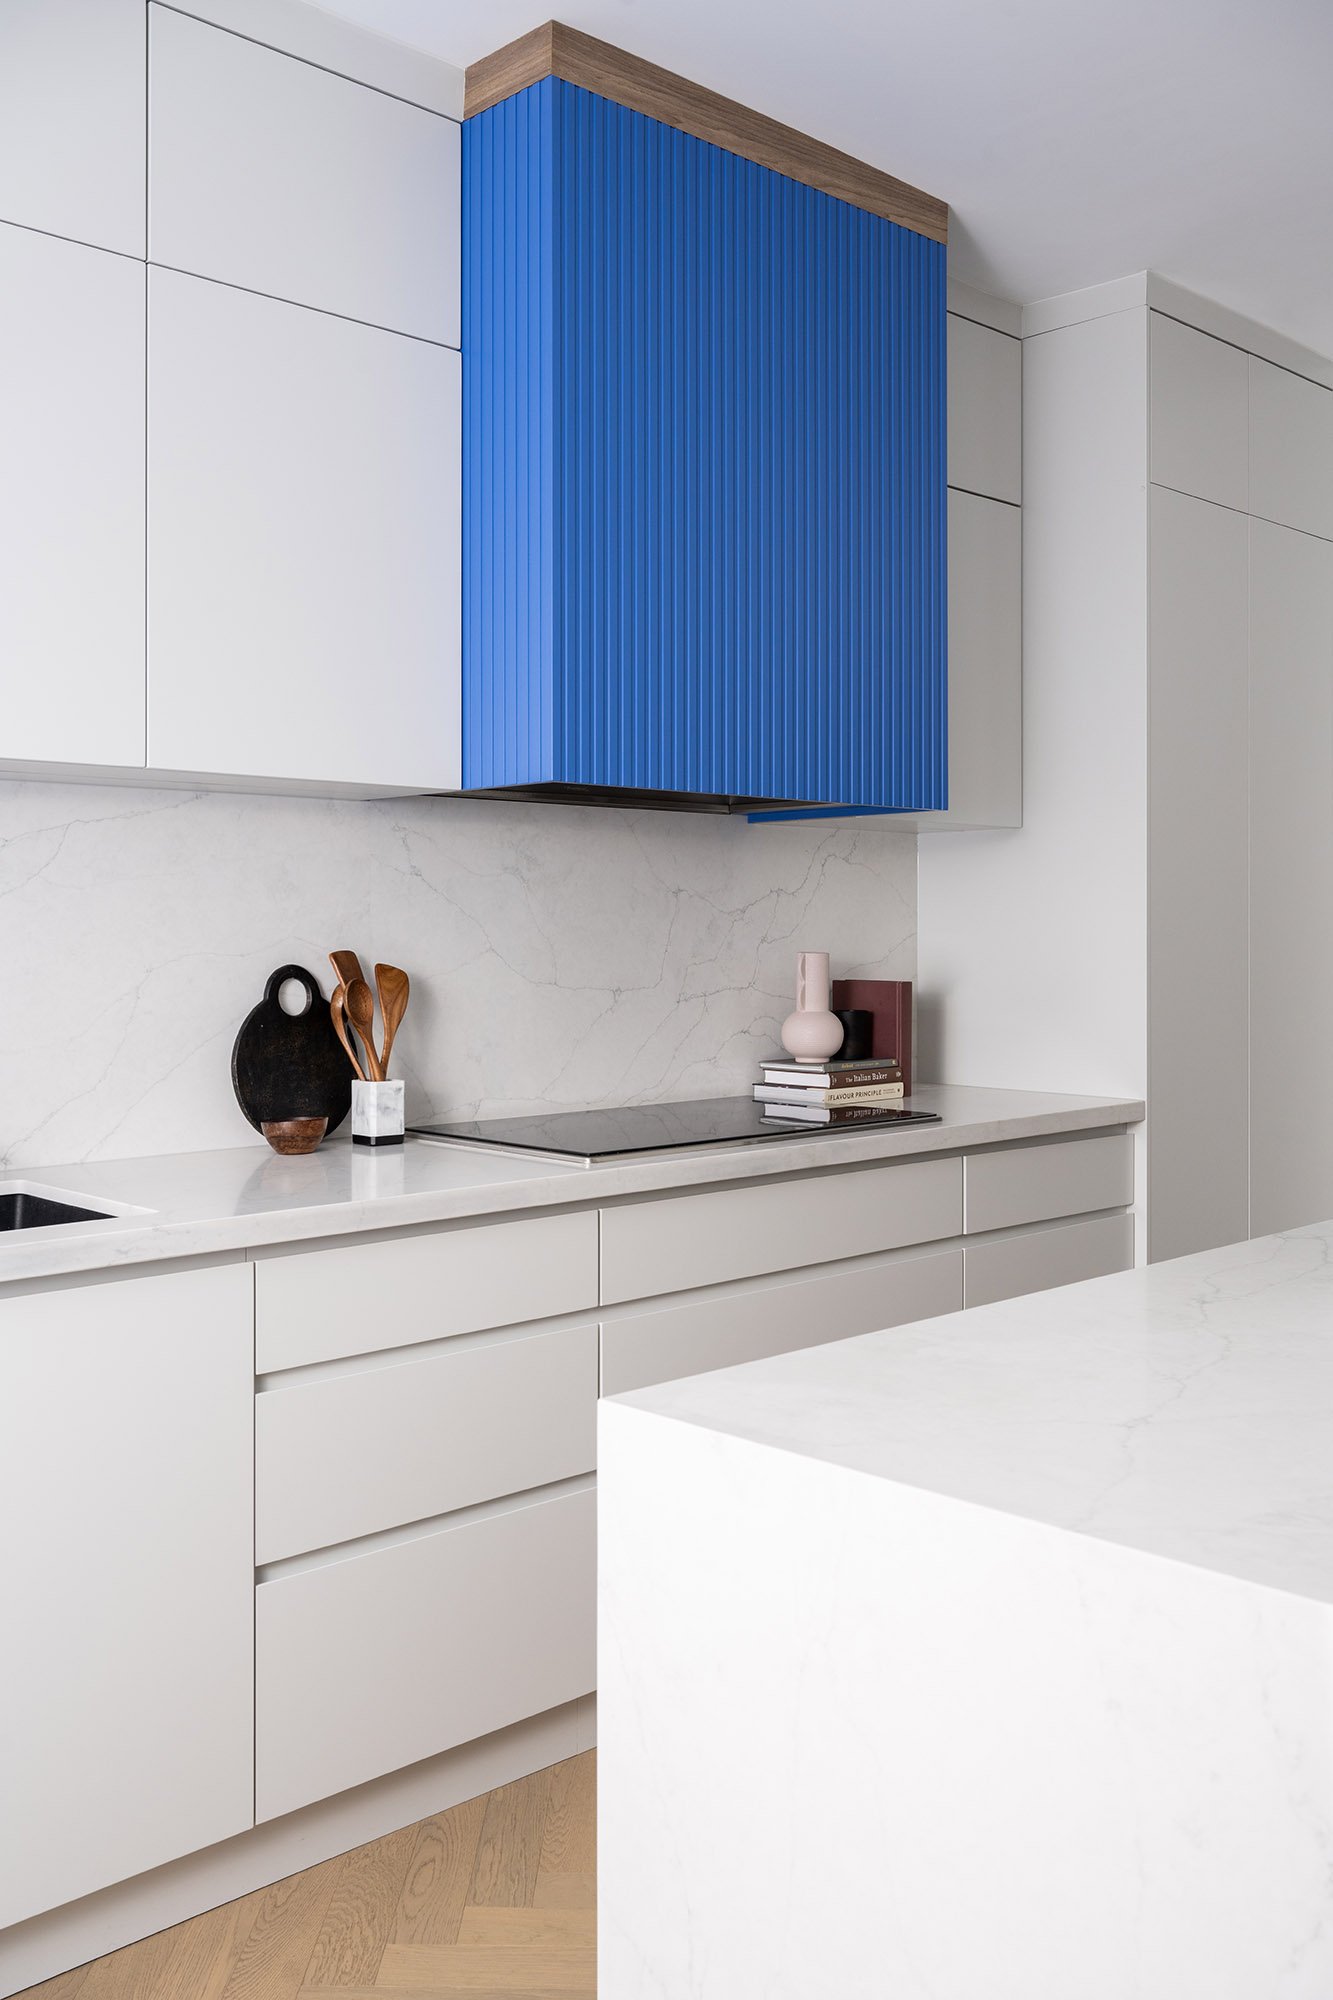
Photographed for The Kwendy Home

Photographed for Leann Ban Interiors

How to Photograph Interiors

Equipment

It’s important to use the appropriate equipment for a professional photography assignment, but I want to emphasize that it’s crucial to learn the proper technique (eg. lighting and composition) first before investing in expensive gear. The best equipment can’t save a photo if it doesn’t show what you and your client want.

Camera

With that said, a full-frame camera is recommended because it has a larger sensor than a crop sensor camera. Because of this, it will perform better in low-light situations. It’ll also give your camera the ability to use lenses to their full potential. In this article, we’ll be referring to a full-frame camera and FX lenses.

Photographed for Oak and Isaac/Kelly Johnson

Photographed for Oak and Isaac/Kelly Johnson

Lens

For wedding and lifestyle photography, I used prime lenses (ie. fixed focal length) so they don’t zoom in or out. I prefer prime lenses over zoom lenses for that type of work because of the range of work I shoot. The smaller size and weight of these lenses plus their wider apertures make them better suited for my style of photography.

However, for interior photography, I’ve switched to a 24-70mm lens as my main lens so I don’t have to switch focal lengths often.

Here are some of the common lenses used in interior photography:

Wide Lens

Use a wide lens with a focal length of 24mm to capture the entire room. For example, a 24mm or 24-70mm lens (used at 24mm).

You could use an even wider lens such as the 16-35mm in some situations, but I’d avoid an ultra-wide lens like a 12-24mm. If you must use it, use it sparingly and be aware of distortion towards the corners of the photo. It’ll stretch the room and create an unwanted warping effect. In that case, you may need to adjust the perspective or crop the photo in post-processing to remove the stretched part of the image.

Medium Lens

A 35mm lens is one of my go-to lenses because it captures the scene with a similar focal length to the human eye. This gives the viewer an accurate idea of what they would see if they were in the room. The 35mm doesn’t create a lot of distortion either, which is a big advantage over ultra-wide lenses.

For mid-range details, the 50mm lens is great for the job. It’s not too wide and not too tight so you can focus on an area while still capturing the environment for context.

Long Lens

For detail shots, an 85mm or 24-70mm (used at 70mm) is useful to create vignettes within a room. They allow you to highlight specific objects or features of the room.

Tilt-Shift Lens

If you’re serious about interior and architectural photography, consider investing in a specialty tilt-shift lens with a focal length of 19mm or 24mm. A tilt-shift lens has the ability to both tilt and shift which allows the camera body to remain level while the lens changes the focusing plane. For example, if you’re photographing a tall building, the camera does not need to point up or down to capture the entire building because the lens will correct that angle.

Tripod

A sturdy tripod is highly recommended, especially in low-light situations where you may need to use a slower shutter (eg. 1/80s, 1/30s or slower, etc.) to keep the camera in the same position when exposure bracketing. It will also save your back from having to crouch or bend down constantly to get a shot.

Tether Cable

Shooting tethered is beneficial for you and your client because the screen on the back of your camera is small. These small details can go unnoticed at first glance. With the camera tethered to a laptop, you’re able to zoom into different areas of the image to see if you need to make any changes before moving on.


Photographed for The Kwendy Home

Photographed for The Kwendy Home

Camera Settings

File Format

Shoot in RAW format (instead of JPG or other formats) so that the files are uncompressed versions. Depending on the camera brand, they may have a different file extension like .NEF. .CR2, .ARW. These RAW files give you the most flexibility and control when capturing a wide range of lighting and when editing in post-processing.

ISO

Generally, you want to maintain a low ISO to prevent grain (also known as digital noise) from appearing in the image. The ideal ISO is between 100-400, but cameras keep improving so even if you have to bump up your ISO, your photo should still be ok. If there isn’t enough light, you’ll have to make adjustments to either your shutter speed, aperture or introduce artificial light.

Aperture

For shots of large spaces with a lot of depth, use a smaller aperture so that everything from the foreground to the background is in focus. An aperture in the range of f8-f11 is generally good for a space with a lot of depth, but you may need to use a higher aperture depending on how much you’re photographing.

When shooting details and vignettes, you can use a wider aperture (around f2.0-f3.5) to create bokeh in the image. Again, this is a general guideline and you’ll have to adjust according to what you’re shooting.

Shutter Speed

Out of the 3 main camera settings we talk about (ISO, aperture, shutter speed) your shutter speed is the most flexible if you have a tripod. If you’re in a low-light situation and your ISO is at 400 and your aperture is at f5.6 already, you can slow your shutter speed to allow more natural light into the camera. In those situations, it’s important to use a tripod and the camera’s timer or a remote trigger to prevent camera shake.

Note: If you’re using flash or strobes, your shutter speed won’t affect how much artificial light your camera lets in.

White Balance

Most of the time, the camera’s auto white balance does a good job of capturing the overall colour temperature. However, if the room has colourful walls, wallpaper or furniture, they might reflect those colours back into the room. This will affect the white balance. For example, if the wall is green, it could cause the room to have a slightly green hue in the photo. To correct this, first use a grey card to set the white balance in your camera or adjust the white balance temperature in Kelvin. The white balance can also be corrected in post-processing if you don’t have a grey card.


Photographed for Jennifer McLean

Photographed for Jennifer McLean

Lighting

Time of Day

Find out which direction each room faces and pick a time of day where the light will be even in that room. For north and south-facing rooms, choose a time when there is the most light. For east and west-facing rooms, avoid shooting when the sun is shining directly into the room, which can cause glare and hot spots on surfaces. I generally shoot between 10am-2pm if I want even lighting. In some cases, I may shoot when there is more light streaming in through the windows if I’m going for a specific look.

Exterior photos can be taken outside of those times, at sunrise or sunset, when the sun is lower on the horizon, creating a nice glow without harsh light.

Keep in mind that these times will change slightly depending on the season and location as the sun will rise and set differently. If possible, scout the location ahead of time or ask the homeowner to take a few photos on their phone at different times of the day so you know what you’re working with.

Natural Light v Artificial Light

There are different views on this, but ultimately it depends on the style and look that you and the client are going for.

Natural light is great for interior photography and is often used to feature a room during the day. Turn off lamps or overhead lights to avoid mixed lighting, which can cast colours and shadows. If a certain spot in the room is darker than you’d like, try using a large reflector to bounce light. On the other hand, if there is too much light coming in from one area off-camera, use a large diffuser to soften the light. These reflectors can be found on Amazon or used from other photographers. They’re a powerful and affordable way to shape light in many situations.

When you need to use artificial light, a flash unit with a shoot-through umbrella can help fill in the shadows. Make sure the flash doesn’t overpower the rest of the room. You don’t want the artificial light to be a distraction and take the attention away from the room.

It may make sense to turn on a lamp or overhead lights if it adds to the ambiance of the room. But be sure to keep the lighting consistent if you go that route.

Bracketing

The amount of light within a room will vary. The windows may be blown out while a corner will be dark. This is where bracketing can even out the light so that every part of the room is exposed properly. Bracketing is when you take a minimum of 3 photos at different exposures and merge them in post-processing.

First, take a photo that is exposed for somewhere in the middle. That means that the meter in the camera is in the centre. Then take a photo that is underexposed. Usually, this is where you properly expose for the windows to get the details back. For this shot, don't worry about the rest of the room being too dark. Then take an overexposed photo, where you properly expose for the darker areas of the room. In this shot, the bright areas of the room will likely be blown out.

We’ll talk about what to do with these photos in the post-processing part of this series.


Photographed for Leann Ban Interiors

Photographed for Leann Ban Interiors

Composition

Hero Shot

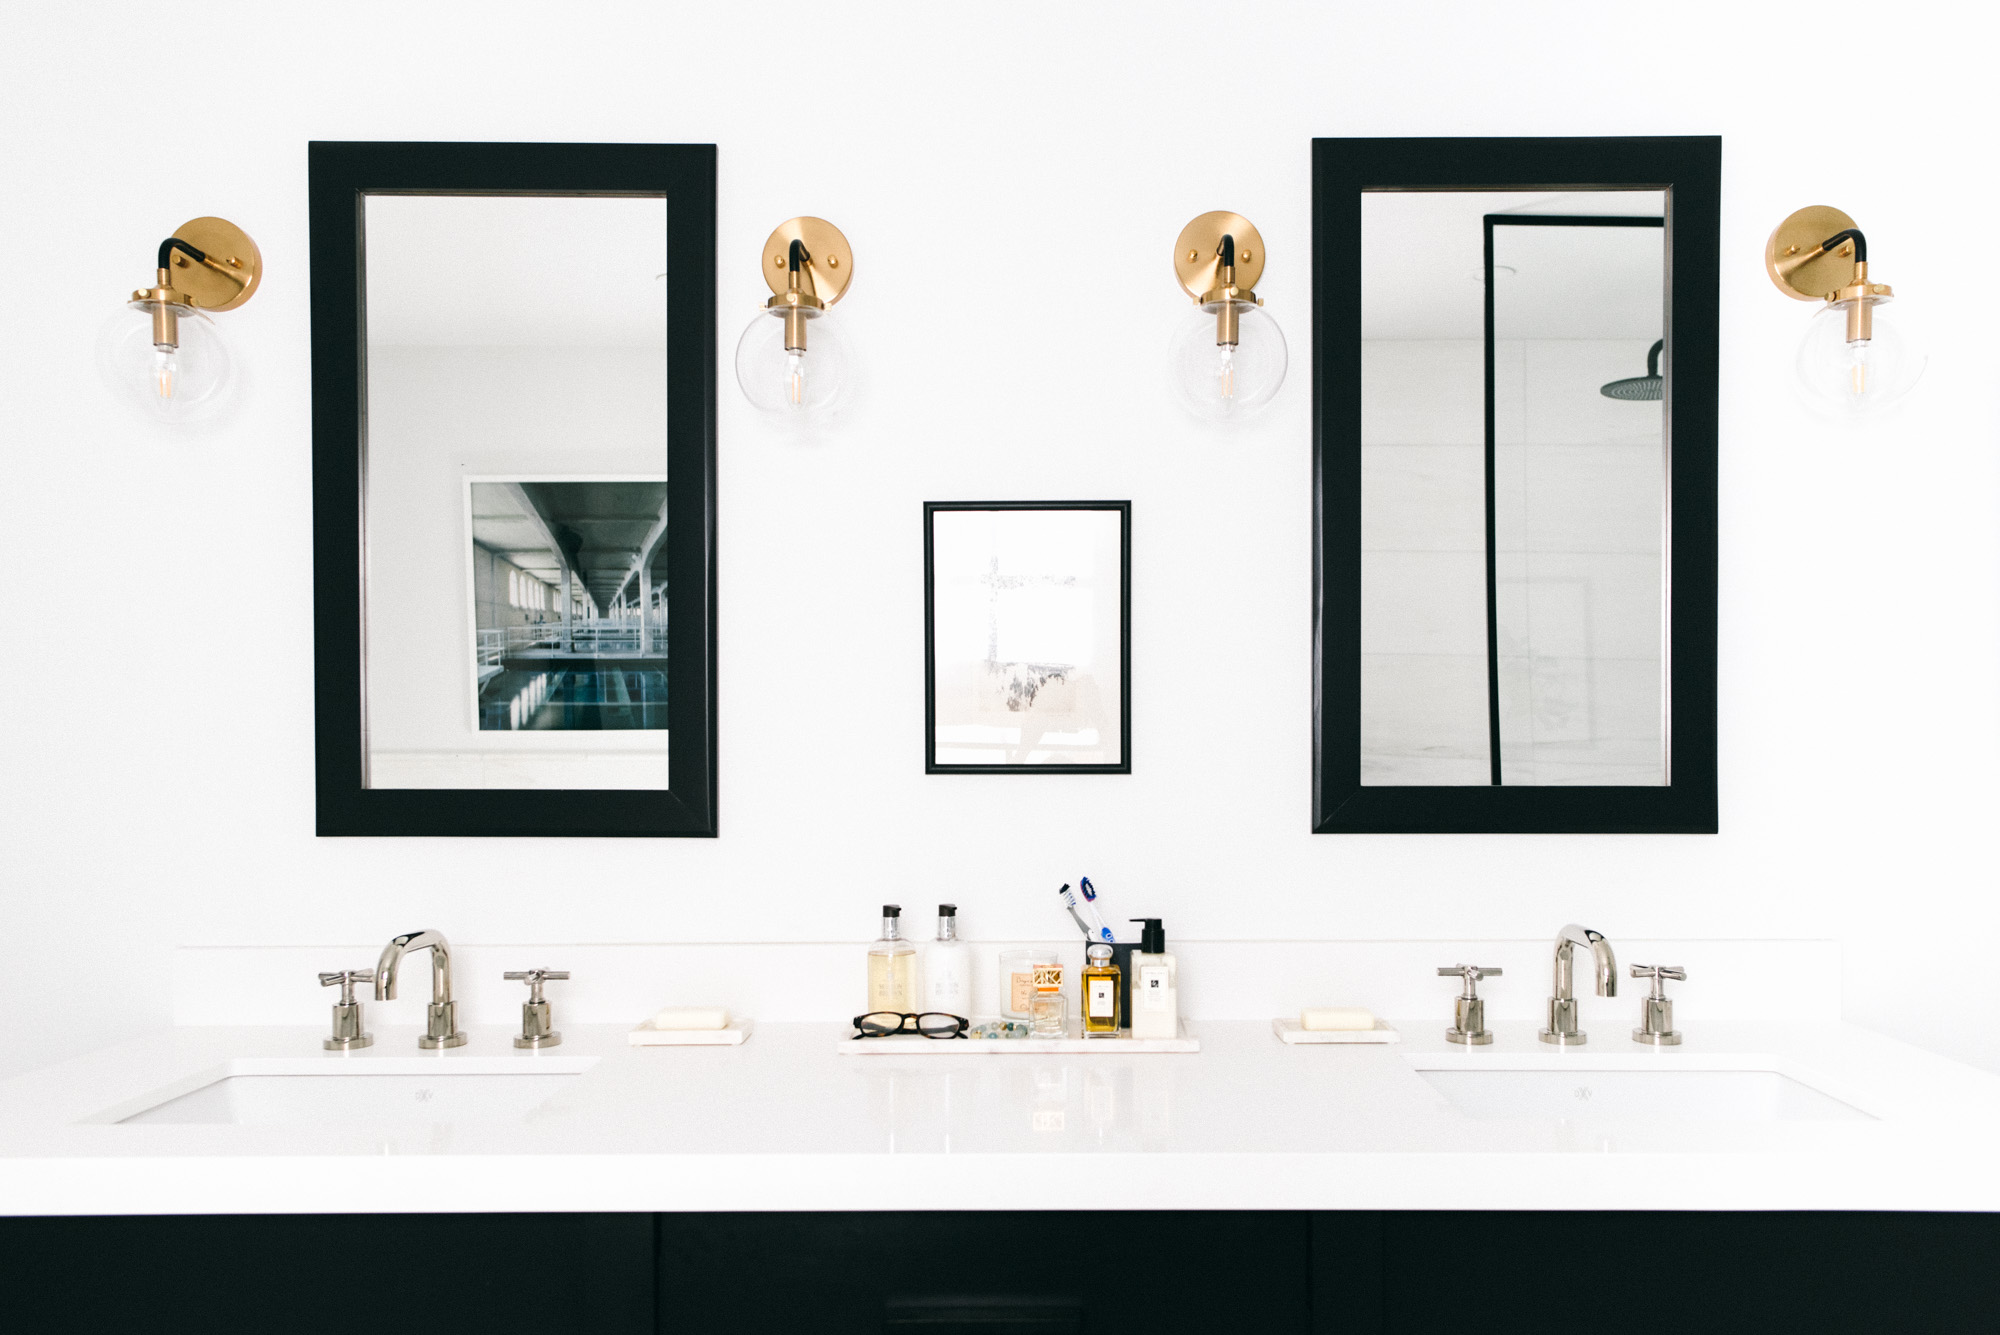
Start with the wide establishing shot by picking out one perspective that will be your hero shot. This is the shot that sets the scene and is the best representation of the room. If the space is huge, there might be two hero shots from different angles.

Make sure to take your time with this shot. Walk around to all corners of the room to select the best angle. Remember that what you see in person can look different in the camera so use your viewfinder or live view.

Watch out for items that are misaligned or appear to be overlapping another object. Refer to the checklist in Part 1 of this series.

Photographed for Vintage and Teak

Photographed for Vintage and Teak

Angle

The 2 most common wide shots are:

  1. Shoot the entire room with your camera parallel to the far wall and

  2. Shoot with the corner of the room in your frame.

  • Aside from detail and vignette shots, photos of a room should show at least some of the floor in the frame.

  • Shoot from an approximately mid-level height of the room or commonly referred to as waist level. This depends on the room though. For the living room, shoot from waist height will work well, but you may need to shoot a bit higher in the kitchen because of the countertop. The idea is that you want to capture the height of the room evenly without pointing the camera up or down into a room. The grid in your camera’s viewfinder or live view screen should be parallel to the walls and perpendicular to the ground and ceiling.

  • Use the level on the tripod or get a small hotshoe bubble level to ensure that the camera isn’t crooked. This will save you a lot of time in post-processing.

  • If you’re shooting a room with a table (eg. dining table, coffee table, kitchen countertop), make sure the camera is not shooting below the horizon of that surface, otherwise, the focus will be on what’s under the table.

  • Take a variety of landscape (horizontal) and portrait (vertical) shots so that you have options for websites, social media channels or print publications. Use objects, furniture and walls to guide the viewer’s eye to what you want them to see.

  • Use symmetry and negative space in your composition.

  • As mentioned in Part 1, interior photography showcases the room and its design as opposed to the scale of the space so you don’t always have to capture everything in the room at one time.

Details

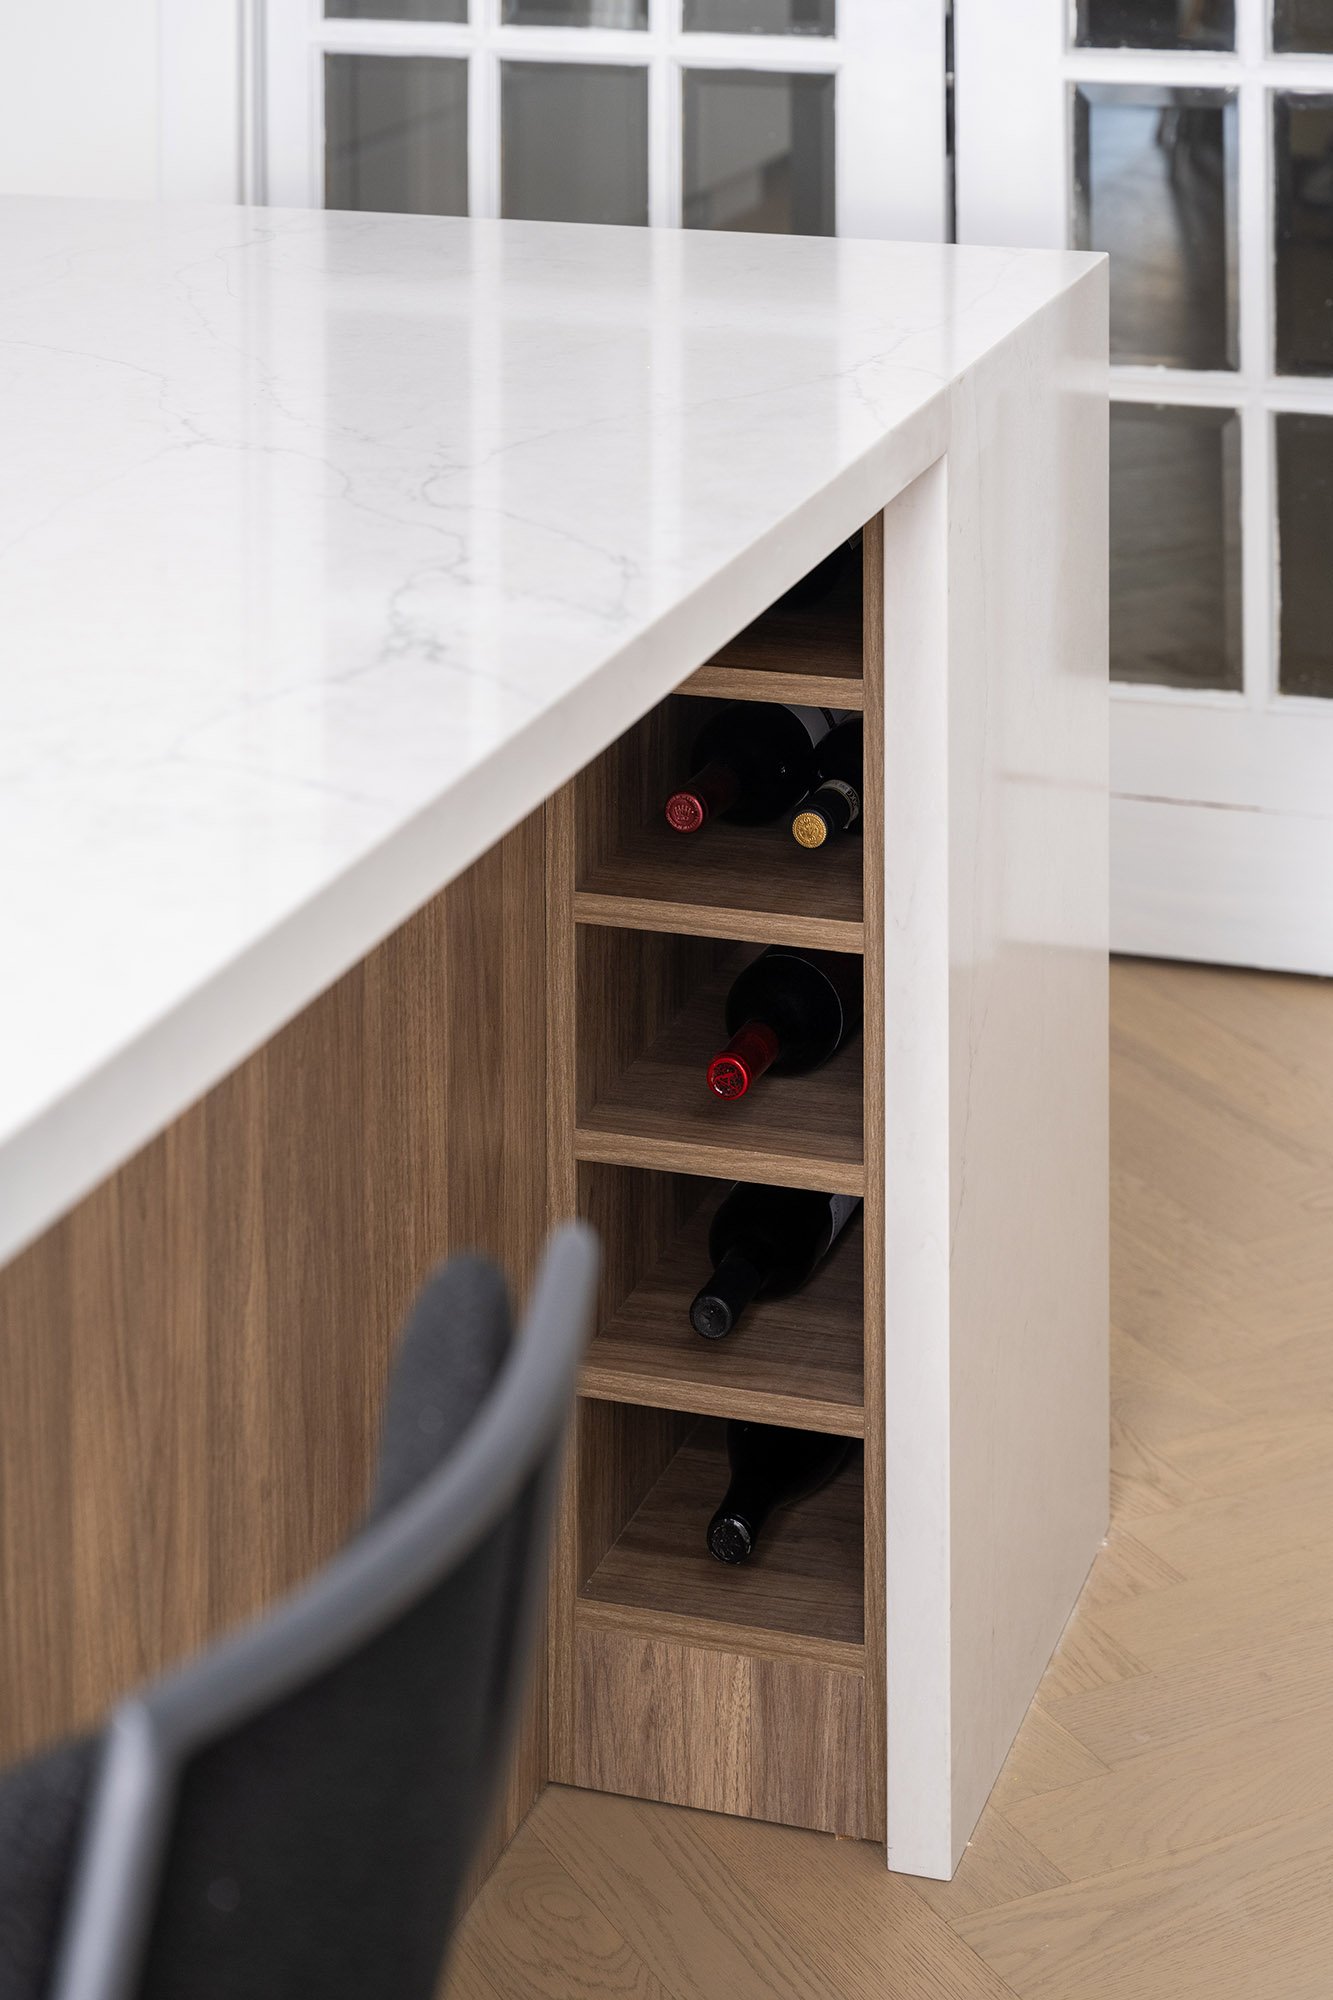
Once the overview shots are done, move in to take some mid-range and detail photos, also known as vignettes. Focus on a smaller area of the room (eg. shelf, fireplace, stove, side table) and then followed by details (eg. hardware, decor). Create a different feel by taking the shot from a different angle.

Focus

Choose your subject in the room to focus the camera on, such as the couch, bed or dining table. Make sure it’s completely in focus before taking the photo. When the camera is set to autofocus, look for an autofocus indicator light in the viewfinder or screen (usually a small solid circle). This indicator will light up when properly focussed on the subject.

Reflections

As you’re shooting, look out for reflective surfaces so that you or your camera gear don’t appear in a mirror or a shiny object.

Review

After taking the standard photos of the room, go over your photos in-camera to make sure you’ve taken enough to fully capture the space before moving on. The next step in your photo shoot - Post-Processing - will be covered in part 3 of the How to Photograph Interiors series!